Sorceress Sellen is an enigmatic NPC you can meet quite early in Elden Ring. She has a very long quest line and following her storyline will undoubtedly leave you puzzled at the very end. So, before we fill you up with the details, let’s get to know this character a bit more.
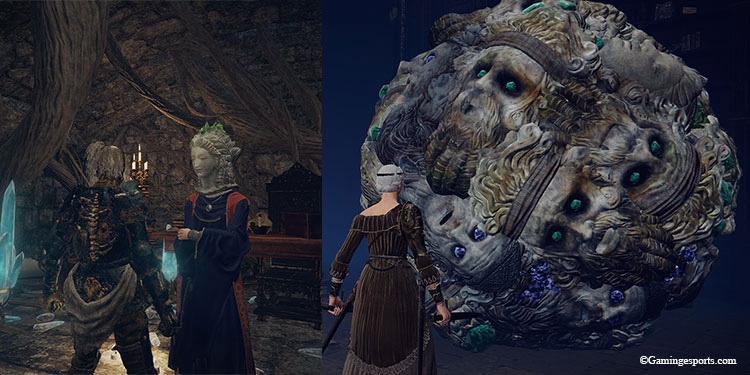
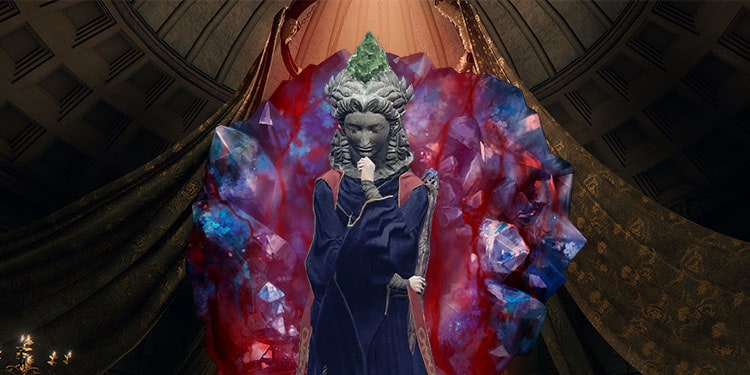
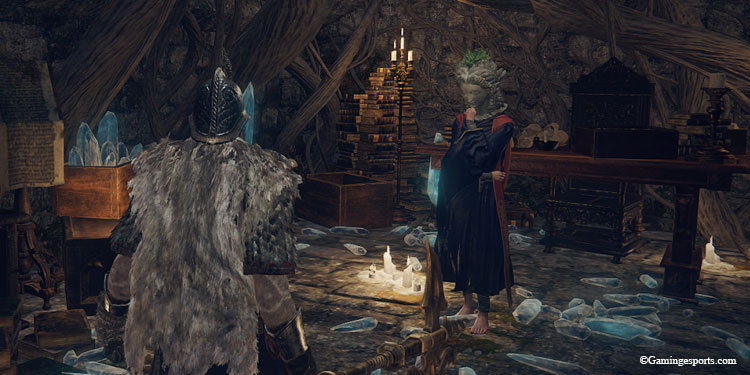
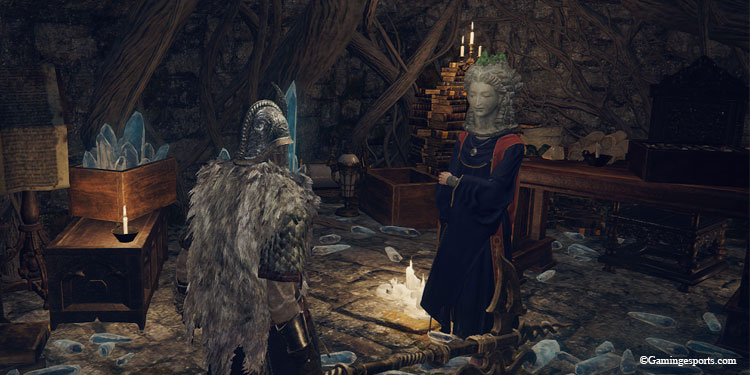
Sellen is someone very hard to forget once you meet her, as she wears a signature helmet that looks like a female sculpture head that hides her actual face.
This sculpture-style helmet and the dark blue robe she wears are akin to the uniform that most other sorcerers in the game wear, although other sorcerers wear helmets that have differently shaped heads.
As for her backstory, she mentions her time learning sorceries at Raya Lucaria Academy. We are told, she was powerful, stubborn, and even at times unruly towards the established order of the Academy.
Later, Sellen’s tabooed exploits and her attempts to learn forbidden sorceries got her expelled from the Academy. Now she lives in hiding, as she is hunted and marked as a calamitous sorceress by Witch hunters and inhabitants of Raya Lucaria alike.
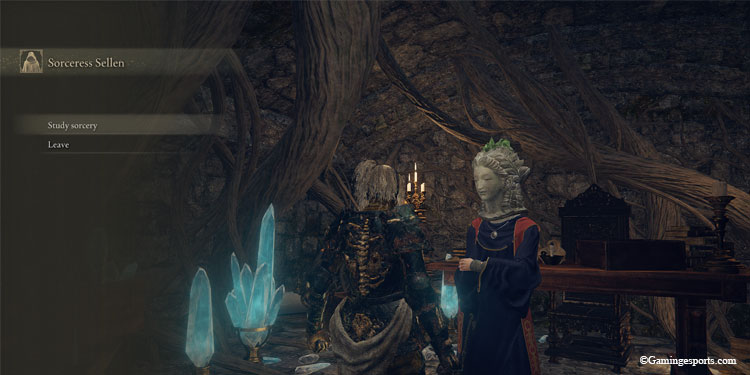
In exiled hiding, she is also a magic merchant who sells you multiple sorcery spells, and her library of spells increases as you deliver her scrolls containing secrets of sorceries.
This makes her a vital character to get a hold of, especially for the Tarnished who like casting spells at enemies.
Unfortunately for us, her quest line starts unfolding a little late in the game, despite us meeting this character very early. But we are here to tell you there’s no need to worry, as she will start teaching you awesome sorceries as soon as you meet her.
Now let’s get you up to track on her questline so that we cover all grounds. And pun intended, there is a lot of covered ground in this questline. To be absolutely honest, if there were no guides out there, I think, this is one of those impossible-to-complete quest lines.
As a tribute to those guides, I am writing a more detailed walkthrough, hoping to add some more clarity to Sellen’s storyline.
This quest line involves a few other NPCs, story characters, multiple fights, and traveling to various locations across Lands Between. In plain words, it is doozy. Regardless, if by any chance you are a connoisseur of sorceries and focused on intelligence build, sorceress Sellen’s quest line can be most important for you to complete. So let’s get started.
Table of Contents
Meet Sorceress Sellen
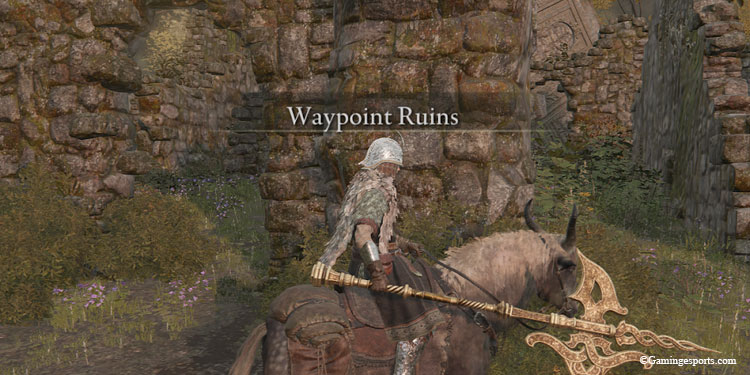
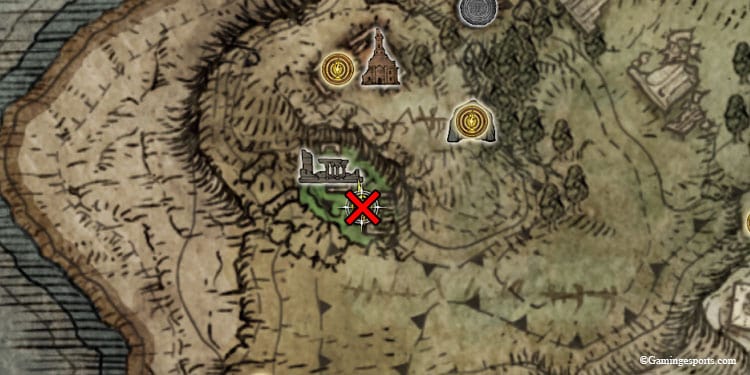
The first step of Sellen’s quest line involves meeting her in Waypoint Ruins, Limgrave. The exact location is marked on the map. Once you are there follow the steps.
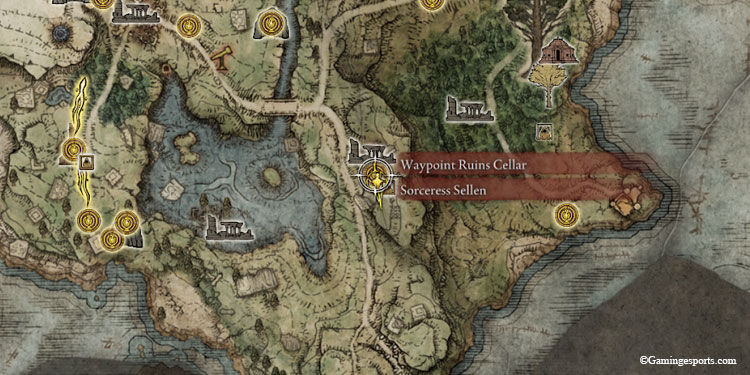
- Navigate to the east shores of Agheel Lake and find some crumbling ruins. Among one of the dilapidated stone structures there, you will be greeted with Waypoint Ruins written on the screen.
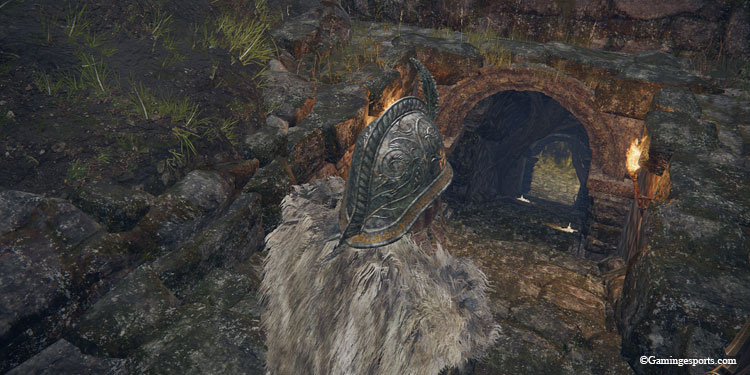
- Make your way past the venomous flowers that will spray poisoning mist to find a small staircase that leads underground into the ruins. This tiny entrance is well hidden among the walls of the Ruins so don’t prematurely reach to the conclusion that you are in the wrong area.
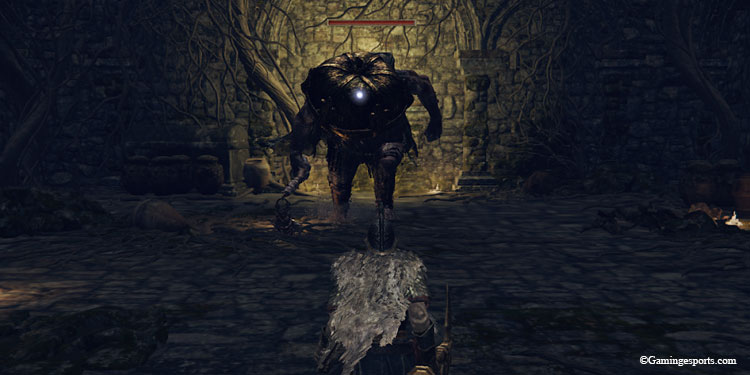
- Fight a Mad Pumpkin Head boss in the ruins and unlock a Site of Grace called Waypoint Ruins in the arena where you fought the boss. Remember to activate this Site of Grace because you will have to fast travel here multiple times during this questline.
- Head inside the door, which can be accessed once you defeat the Pumpkin Head boss. You will meet Sorceress Sellen there.
- Become her apprentice and she will become a merchant who sells and teaches you spells. Once you accept her apprenticeship, it also starts her questline.
Find Primeval Sorcerer Azur and Find Comet Azur Sorcery
Once you start Sellen’s questline, which can be done very early in the game. This next step can come much later in the game. You need to meet Primeval Sorcerer Azur at Mt. Glemir in Altus Plateau.
To access Atlus Plateau, you either need to complete a dungeon called Ruin Strewn Precipice and beat its boss or get the Dectus Medallion, and ride the Grand Lift of Dectus up to Atlus Plateau.
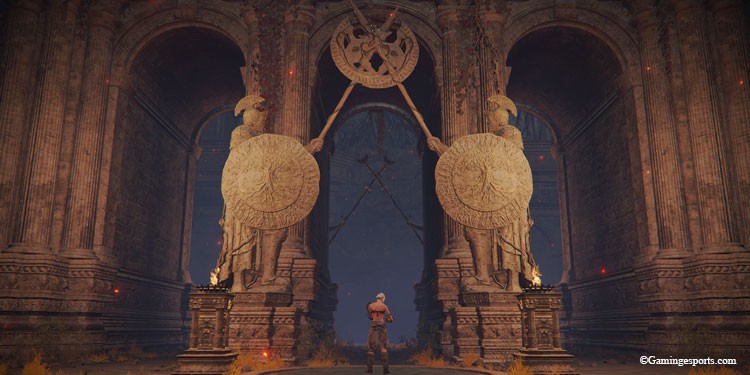
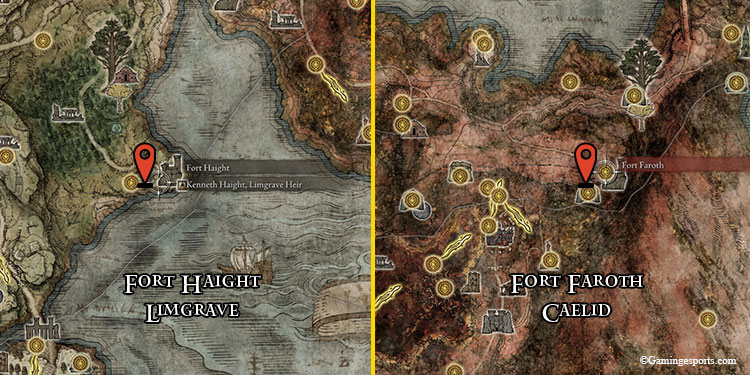
Dectus medallion is found in two pieces, atop 2 forts i.e. the left piece is inside a chest in Fort Haight, Limgrave and the right piece is in another chest at Fort Faroth, Caelid.
Once you can access Atlus Plateau, find its Site of Grace, located either on the left of the Grand Lift, or the site of grace at Erdtree Gazing Hill site, in front of Lux Ruins. Once you have done this, you can follow these steps.
- If you are in Atlus Plateau, ride north till you reach the Militia Encampment then turn west until you reach the Erdtree Gazing Site of Grace.
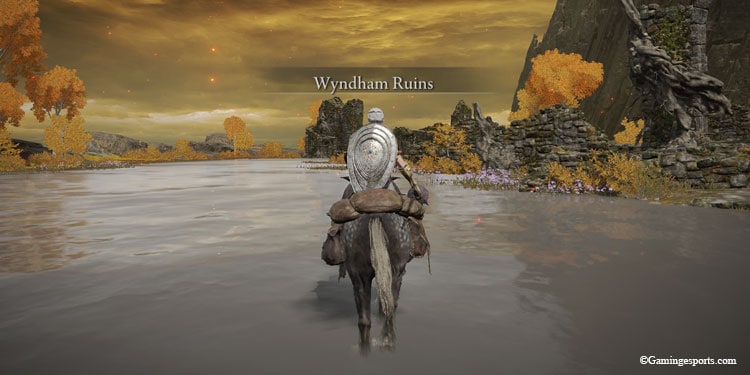
- Once at the Erdtree Gazing Site, take the small cliff patch directly to the north and reach the Wyndham Ruins. First-timers at the Ruins can encounter a Tibia Mariner boss that chases you around in a ghost boat.
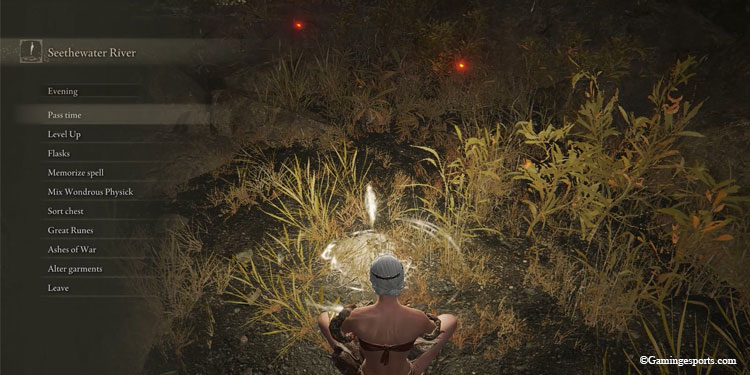
- Cross the ruins keeping your heading towards the northwest, you will reach a ravine. There is another Site of Grace called Seethewater River at the beginning of this ravine.
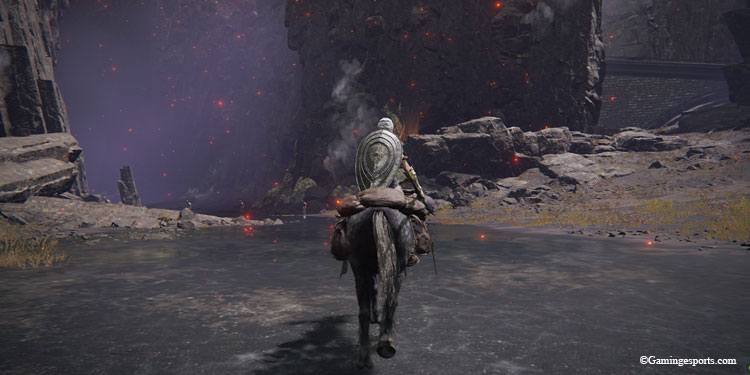
- Follow the ravine north till you reach the fork in the road, take the left path, and see it to its end. Be careful traversing this canyon as there are volcanic geysers that shoot from underneath your feet and deal damage.
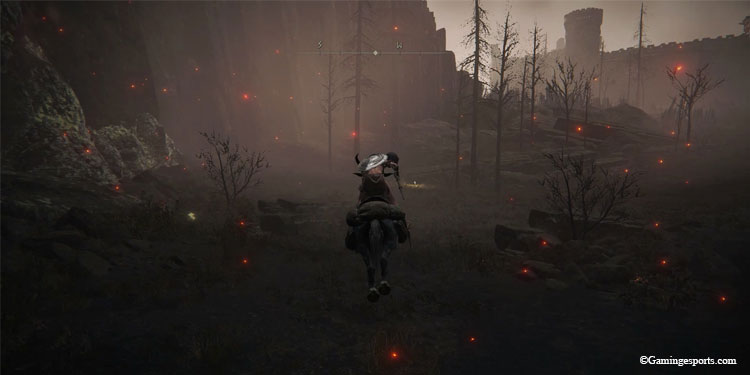
- At the end of the ravine, you will find a Site of Grace called Seethewater Terminus. The castle you see up ahead is Fort Laidd.
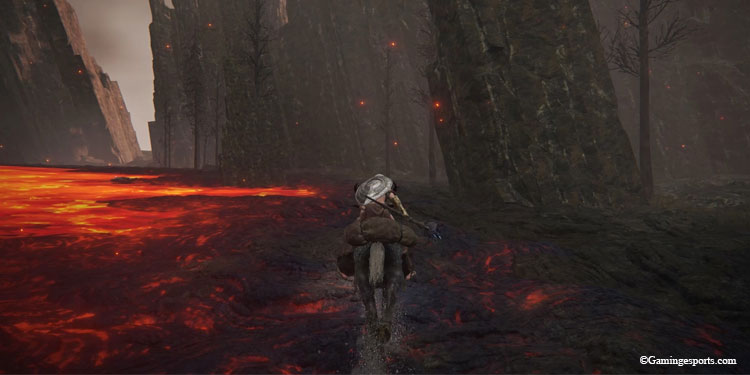
- Take the path on the outskirts of Fort Laidd and turn left till you reach a magma-encroached land. There is a field boss here called Magma Wyrm, you can ignore this fiery lizard and take the path on the right of the lava lake towards the cliff road you will find up ahead.
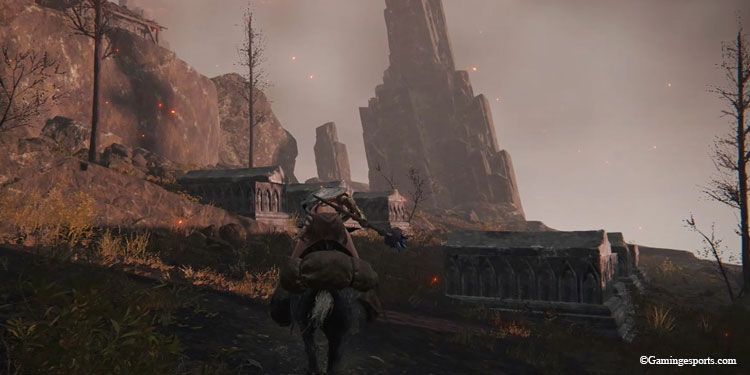
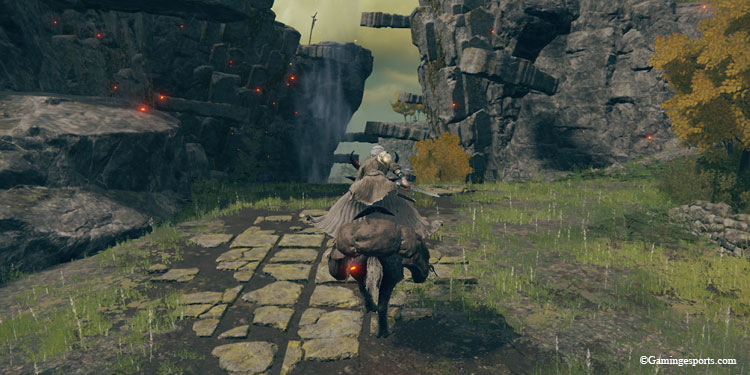
- Ride through the cliff road, there are some demi-human enemies that will fling some explosives at you. Next, you will cross a graveyard and ride past some shacks towards the left of the road.
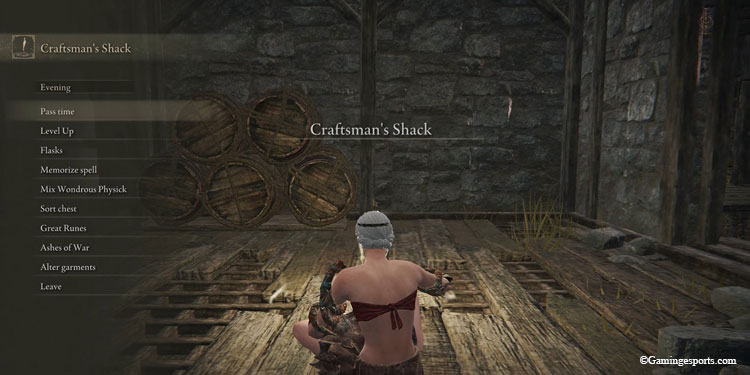
- Ride fast, as a giant RuneBear will leap at you from one of the shacks. Once you ride past a rock arch, there should be some more shacks on the right, inside one of these dilapidated huts should be a Site of Grace called Craftsman’s Shack.
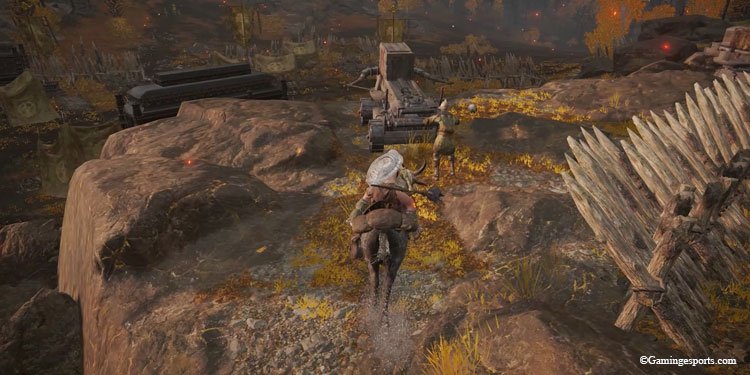
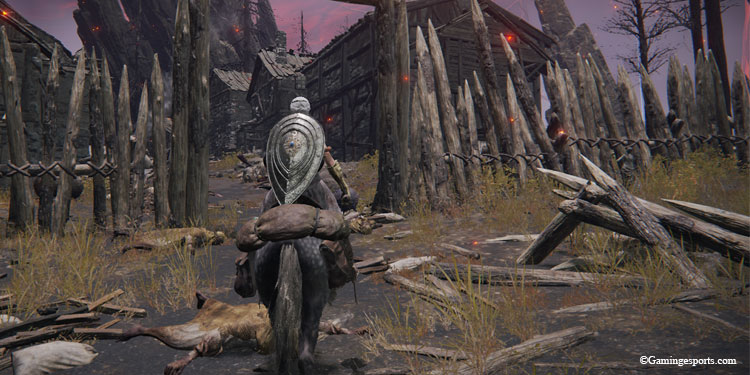
- Next, right ahead is Hermit Village. This village is fortified with wooden spikes and palisade walls. It is teeming with enemies, so best to ride past it as quickly as possible.
- As soon as you are clear of the aggressive village, you will meet a field boss called Demi-Human Queen Maggie. She and her spellcaster companions should try and attack you, for now, you can skip her and keep following the path, till you see a Site of Grace on the left.
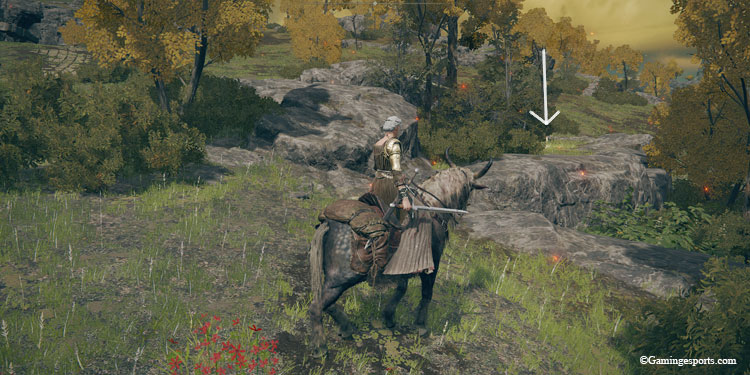
- Rest at the Site of Grace to de-aggro the enemies, this is your destination. The Site of Grace is called Primeval Sorcerer Azur, exactly behind the Site of Grace, you should find a crystallized corpse of the sorcerer called Azur. Interact with the corpse and you will find sorcery, Comet Azur.
Get Sellian Spellbreaker and Unlock Master Lusat’s Seal
Once you get the sorcery Comet Azur, fast travel to Sorceress Sellen in Waypoint Ruins. You should get a new dialogue option where you can show her the Comet Azur sorcery. Once that is done her questline will now move forward.
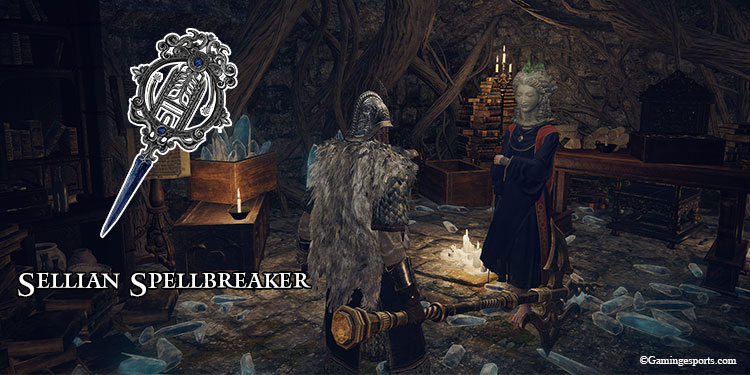
She will then give you a quest, to find Master Lusat, another one of the primeval sorcerers. She will give you a Glintstone key called Sellian Spellbreaker, with this item in your possession you can now use it as the key to unlock the seal in Sellian Hideaway and find Master Lusat.
Find Master Lusat and Stars of Ruin Sorcery
You can find Master Lusat in Sellia Hideaway, located behind a Graveyard, uphill from the Church of Plague, Caelid. This location can be accessed in two ways, as shown in the map below and detailed in following the videos.
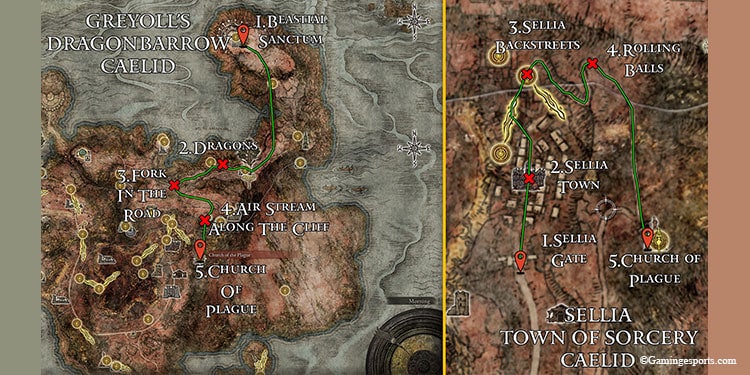
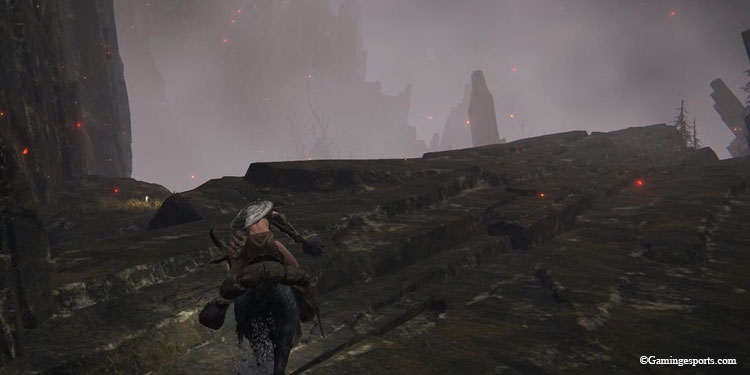
- First is by unlocking the seals of Sellia, the town of sorcery, during Millicent and Gowry’s questline. We have a video guide to help you with that endeavor. Once you have unlocked the seal leading to Sellia Backstreets, ride uphill avoiding the boulders to find the Church of Plague and its Site of Grace. Once there you can continue going uphill.
- Another is from Beastial Sanctum, there is a teleporter hidden within bushes behind the second Church of Marika that will take you to the Beastial Sanctum. From the sanctum, ride southwards towards the center of Caelid to the Church of Plague area. You need to jump down the cliff along an air stream to reach the church and from there get uphill towards the graveyard. Below is a fully documented video guide for this step.
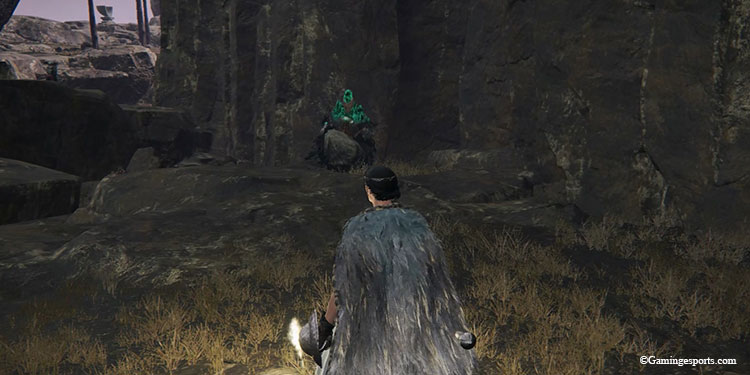
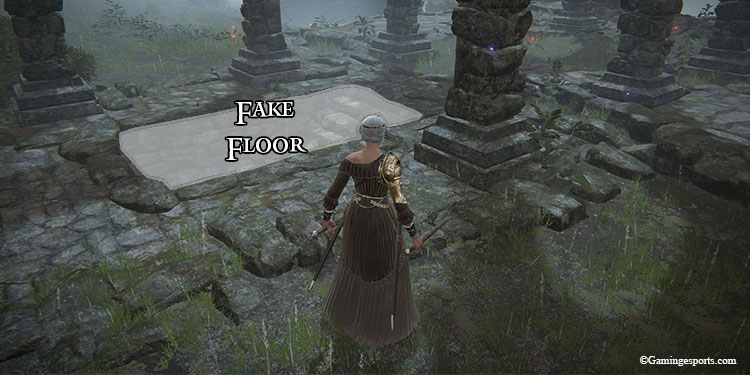
NOTE: Once you are in the graveyard near Church of the Plague keep going uphill till you meet a large wizard enemy wielding a club and staff standing in front of a large decorative tombstone. Exactly behind this tombstone on the foot of the cliff is a rock that’s poking out, it is a fake illusory rock.
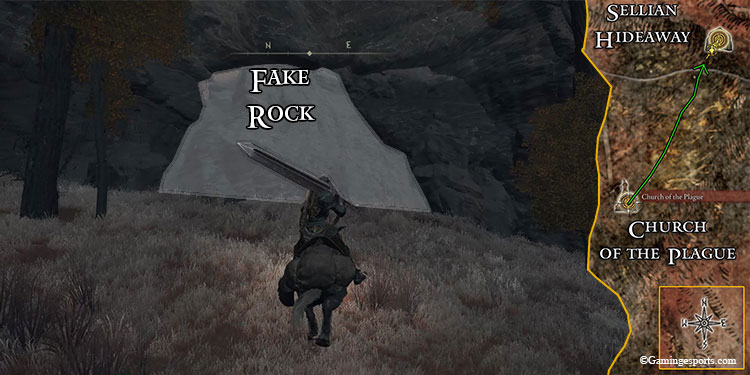
You can hit the rock with your weapon which will make it disappear and will reveal a cave, this is the Sellia Hideaway. Here is a video exactly showing that.
The Hideaway is actually a dungeon, with dangerous Revenant enemies lurking at its pit and powerful trio bosses. Thankfully for this questline, we don’t have to deal with any of those. All we need to do is find Lusat and get the sorcery from him.
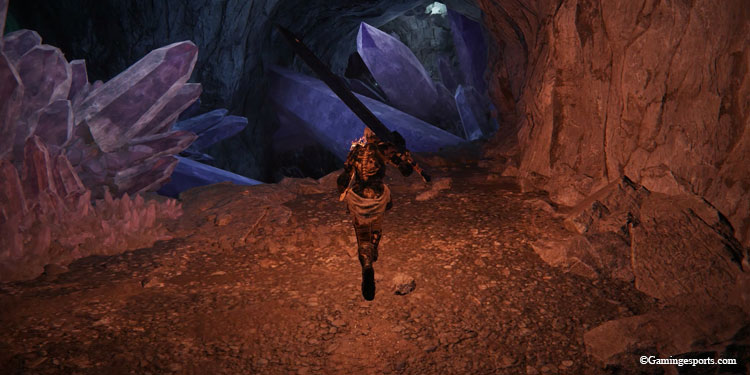
We advise you to carry a source of light, like a torch or a lantern before going ahead as the interior of this cave is quite dark. Now you can follow the steps or check the complete video guide starting from finding the Sellia Hideaway to reaching Master Lusat and escaping the dungeon.
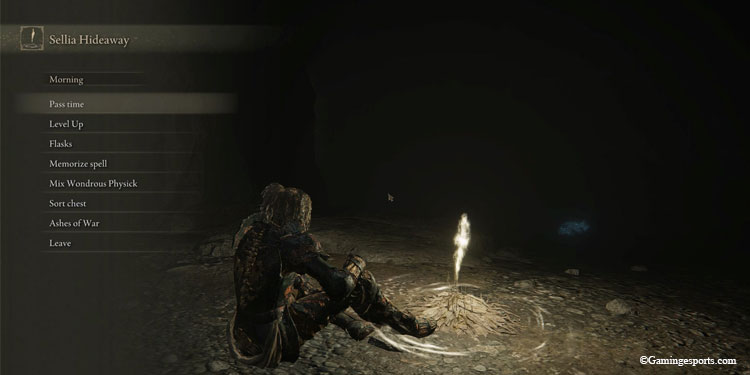
- Keep going into the cave and you will find a Site of Grace called Sellia Hideaway, you can activate it. Then continue heading in.
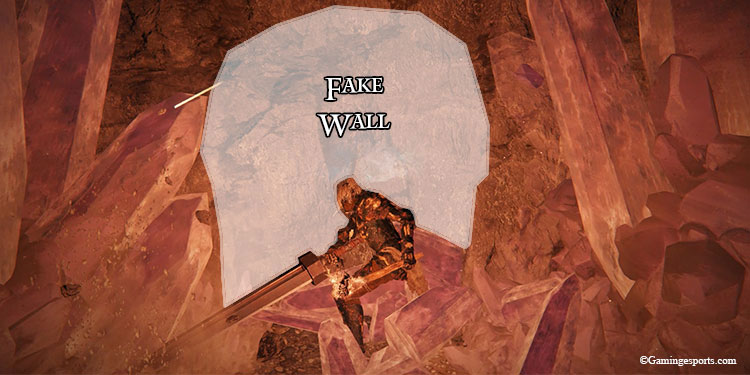
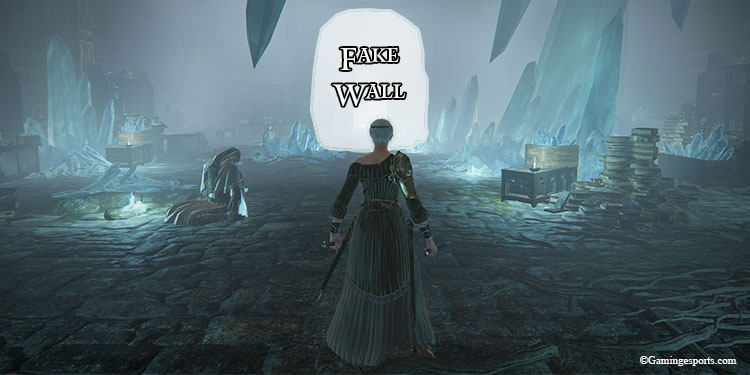
- Once you find a dead end, strike the wall with your weapon at the end of the cave, this is another fake wall that should disappear. Do it again when you reach another dead end. The noise of miners hitting the crystals with their pickaxe should be ringing crystal clear to give you hints.
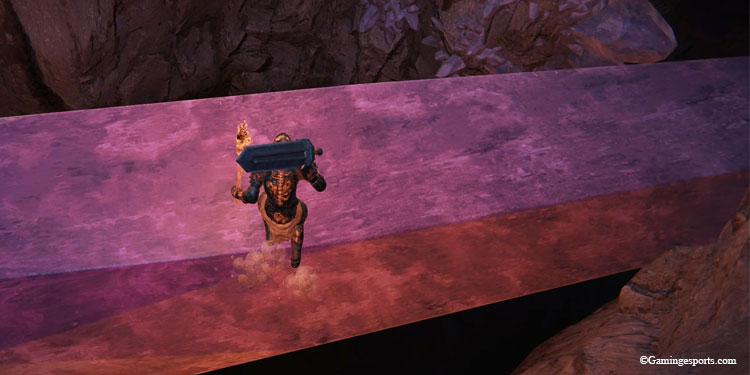
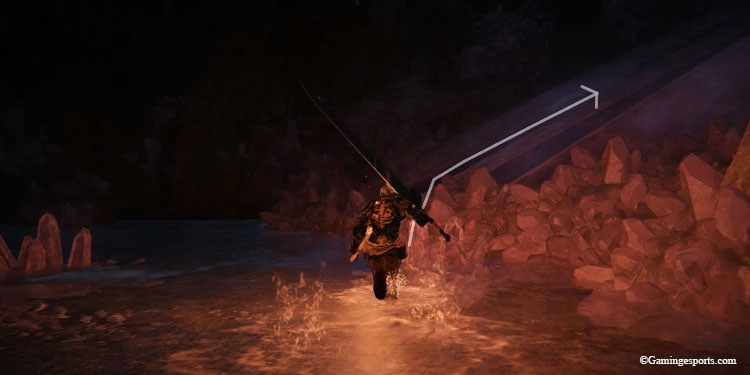
- Once you reach the inside of the cave which opens up into a large crystal-filled interior, follow the path on the right. You need to do some mild platforming by jumping across gaps and over the crystals.
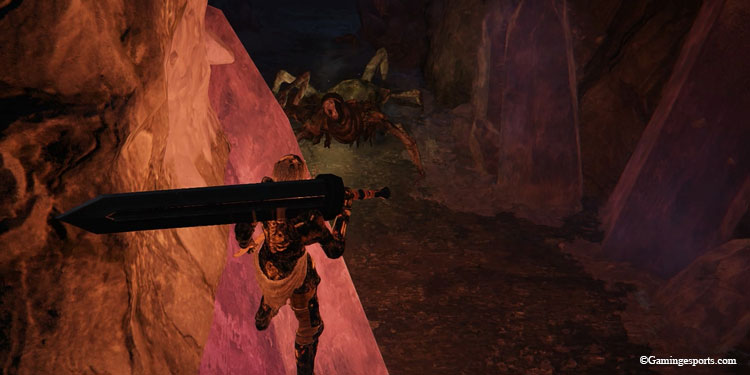
- Keep going straight past some enemies and gaps, till you see a large pink crystal jutting out of below you. Jump on this crystal then jump below into darkness.
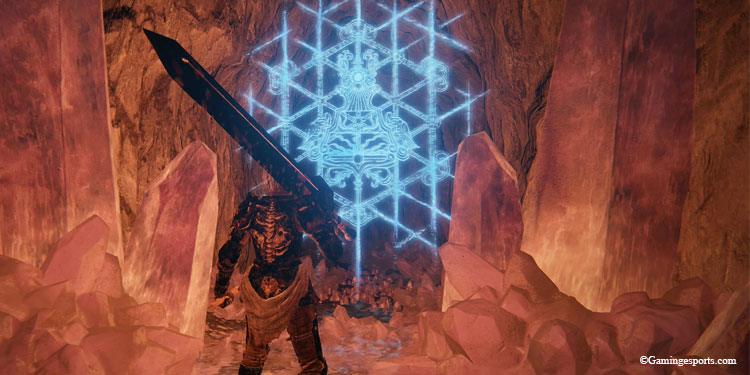
- You will reach the watery bottom pit, in this pit find the sorcerer guarding a magically sealed gate. You can open this seal with the Sellian Spellbreaker and enter the chamber.
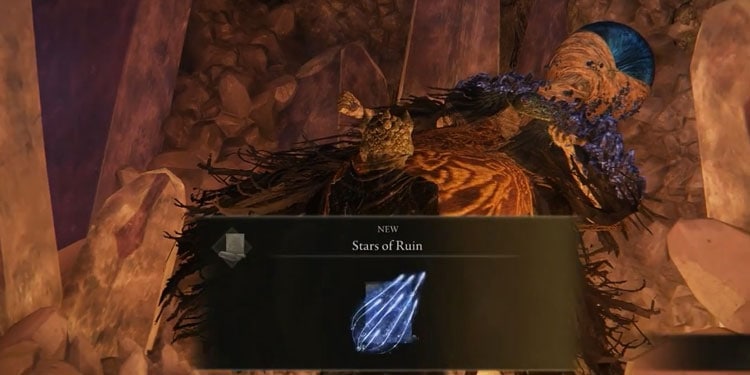
- You will find Primeval Sorcerer Lusat inside this cave. Interact with him and he should give you Stars of Ruin Sorcery. Once you have it you need to escape this cave on foot as you cannot fast travel from the pit of the cave.
- Head into the watery pit again and on the right, you will see a sloping crystal, take this path upwards.
- Stop before you decide to drop down once this slope ends. You should hear some screeching. Beware, there is a revenant enemy here and they can be lethal.
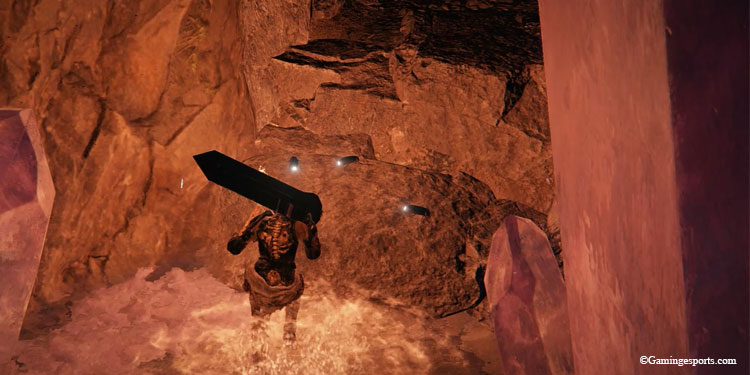
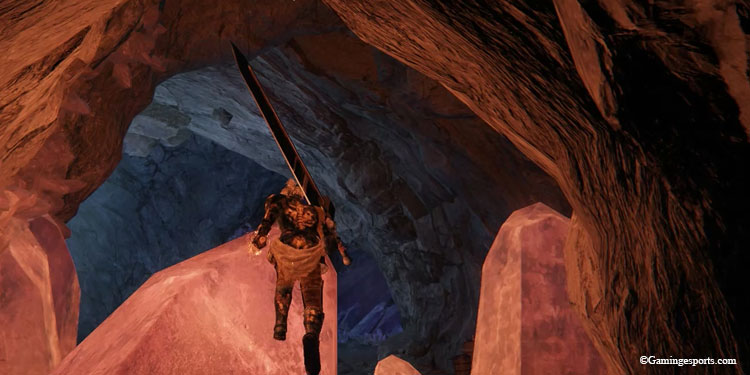
- Look before you drop down, just on the right you should see three tiny glowing items, and on the left three larger glowing items. To the left is the revenant enemy, and to the right is your escape path. Jump down and quickly follow the tunnel on the right.
- You should exit somewhere in the upper level of the cave, from here you should be able to navigate back to the entrance. Once you are out of the cave, proceed with the next step.
Return to Sorceress Sellen with Stars of Ruin Sorcery, Waypoint Ruins, Limgrave
You can return to Sorceress Sellen once you have the Spell Stars of Ruin. Just directly fast-travel to the Waypoint Ruins Site of Grace. She will mention the final burial rites of both the Primeval Sorcerers i.e. Lusat and Azur, apparently, she regards them as her teachers. She will then reward you with a Starlight Shard.
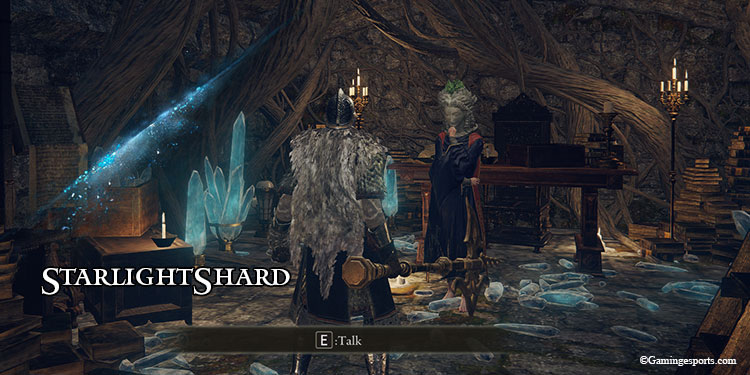
The quest comes to a halt for now before you go out of your way to complete the next step. If you have already defeated Radahn then you can skip the next step and proceed to one following it.
Defeat Starcourge Radahn
There are two ways to access the Redmane Castle and fight General Radahn.
Either you can find your way to the Altus Plateau and rest at the first Site of Grace. This now activates the Radahn festival and you can use the teleporter in South East Caelid to go to the Redmane Castle.
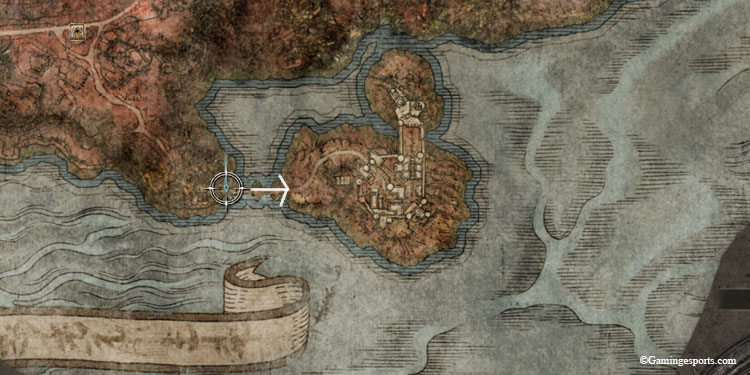
Alternatively, you can follow Ranni’s questline and meet with her shadow Blaidd. To find Ranni you can go to how to get to the Three Sisters Region portion of this article first.
Once Ranni’s questline is progressed till Blaidd tells you about a festival being held in Redmane Castle, this also activates the teleporter, and you can now start with the steps.
- Teleport to Redmane Castle using the teleporter at the south-east edge of Caelid, once you are in, on the immediate right is a Site of Grace you can activate to be able to fast travel to this location.
- You will meet various heroes you might have met in your journey preparing for the battle with General Radahn, locate an NPC called witch hunter Jerren, he will be announcing and heralding the festival while standing atop a platform overseeing the courtyard where the champions are.
- Talk to Jerren, after a brief cutscene, you can now head out to battle Radahn.
- Head to the northmost building straight from the entrance in Redmane Castle, in front of where Witch hunter Jerren is standing. From the inside of this building take the right and go down the lift.
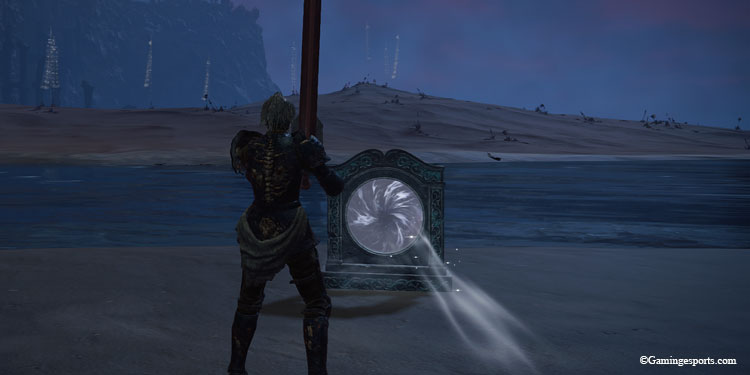
- Once you are in front of the dunes, you will see a teleporter close to the bank of the river. This teleporter will take you to the Radahn boss-fight area in Wailing Dunes.
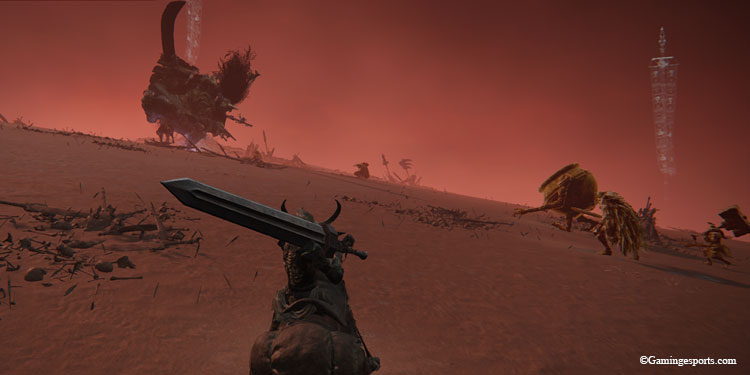
- Defeat Radahn and you can now proceed with the next step of Sellen’s questline.
Meet Sorceress Sellen and Listen to Her Request
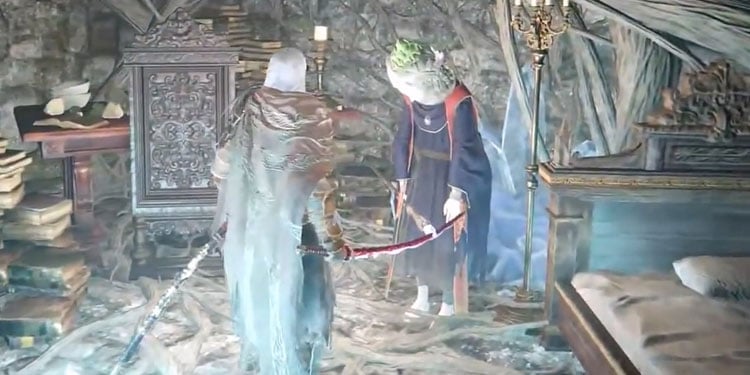
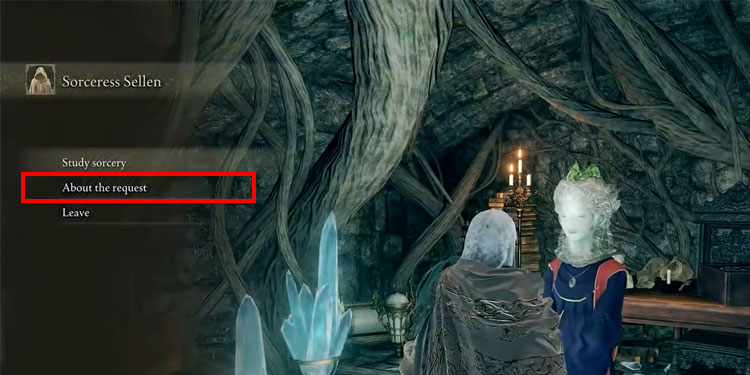
Once you have defeated Radahn, once again make your way back to Waypoint Ruins. There should be a new dialogue option to ask Sellen about her request. Sellen should now give you an important revelation, that the body she is currently in is not her real body, and her real body is located somewhere in the Witchbane Ruins. She will ask you to retrieve it.
NOTE: If you have not spoken to Sorceress Sellen here and taken her request, the body you find in the Witchbane Ruins will not respond to you and won’t recognize you as her apprentice.
Find the Primal Glintstone
For this part of the questline, you need to head towards the Witchbane Ruins, Weeping Peninsula. If you have already activated the Fourth Church of Marika’s Site of Grace you can immediately fast travel there, if not you will have to start navigating again.
If you haven’t found the Witchbane Ruins, follow these steps or the path marked on the Map.
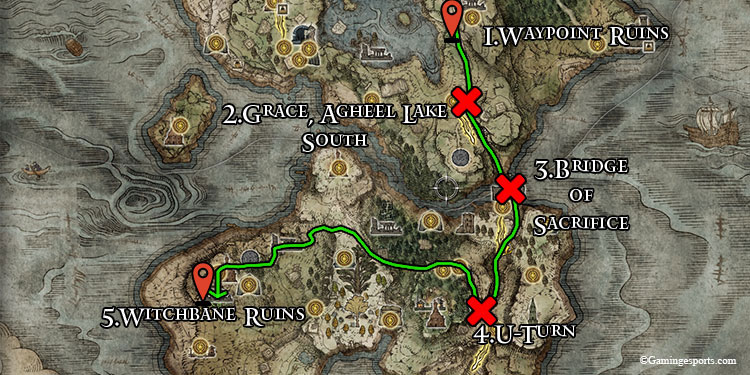
- Go out of the Waypoint Ruins and take the path south. You will reach the Agheel Lake South Site of Grace on the right of the path, keep following the path.
- The path will now go between two cliffs, keep heading to the south and follow the path.
- You will reach a bridge i.e the Bride of Sacrifice, guarded by militiamen and artillery ballista. Avoid the damaging ballista shots as you cross it. Once you cross this bridge you are in the Weeping Peninsula.
- Keep following the path between the cliffs southwards, you will come across several enemies who seem to have destroyed a caravan and are chopping up the bodies, keep riding ahead.
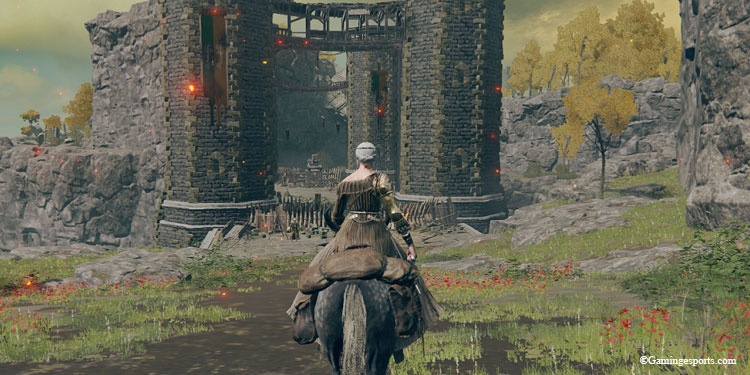
- Once your road leads you to an open area with a view of the castle, you have to take a U-turn towards the west, instead of going to the castle that’s up ahead in the south.
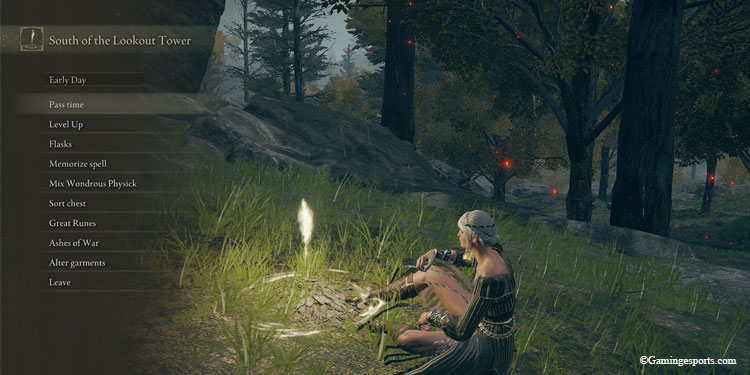
- Take the forested path, you will see some zombie dogs gathered around a pond, past these dogs on the left is a Site of Grace called South of the Lookout Tower.
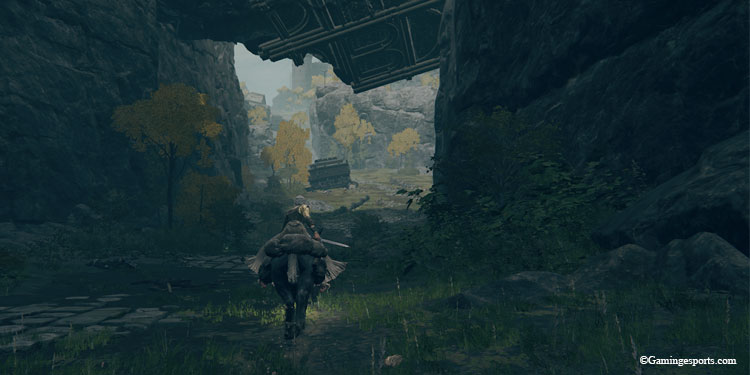
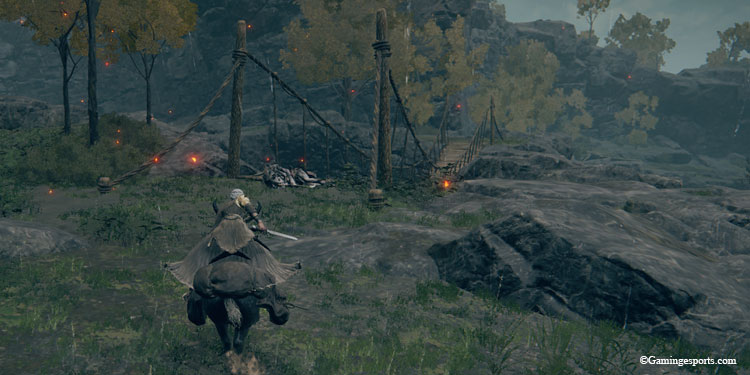
- The path leads to a cliff and has a wooden rope bridge you can cross guarded by a demi-human enemy. Cross the bridge and keep going northwest along the cliffs till your path opens.
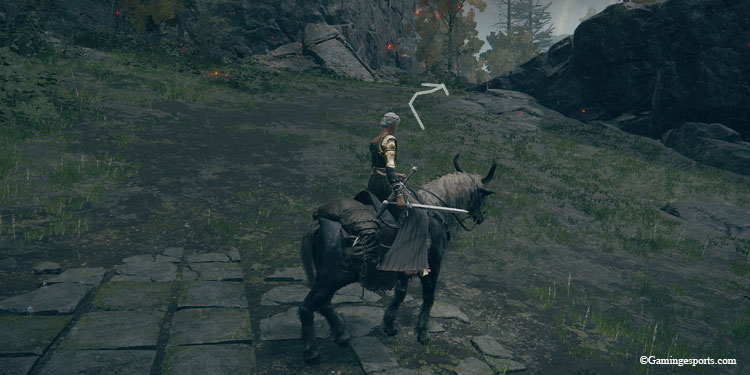
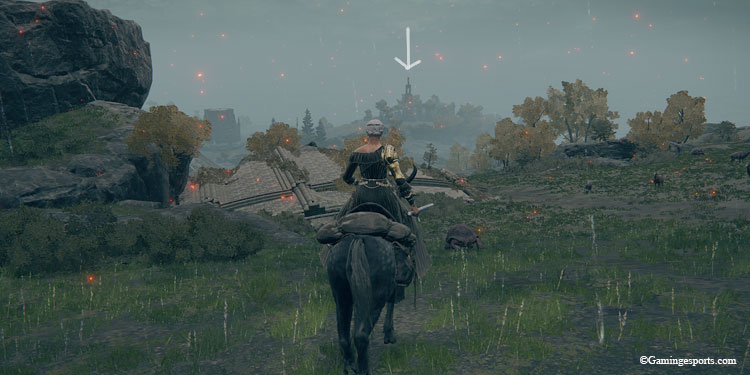
- You will reach an open fork in the road you will see a building in the north along with the Erdtree, don’t go there, instead, look to the west. You should see the tower of the Fourth Church of Marika on your horizon. Head there.
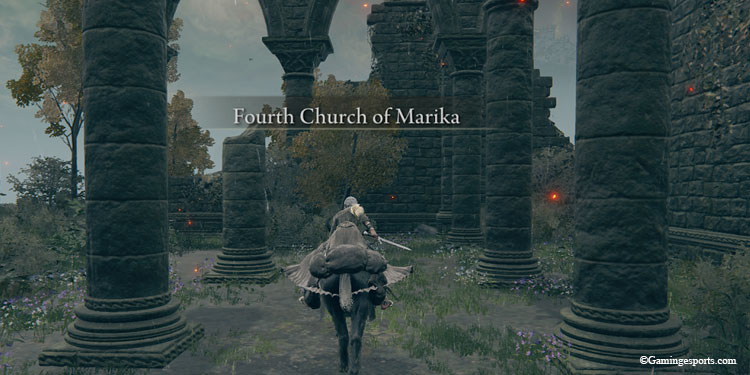
- You will come across some ruins and field enemies, keep heading to the church and once you are there, rest at the Site of Grace. This is the Fourth Church of Marika.
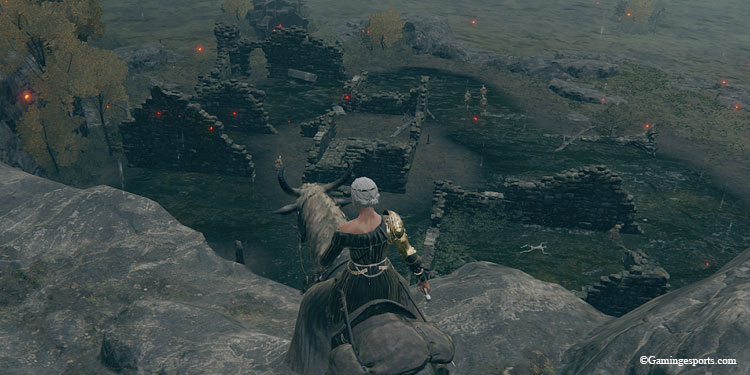
- Just a bit south downhill from the Church of Marika there are some ruins, this is your destination, these are the Witchbane Ruins. Head there, you will meet several enemies.
- Go to the exact spot marked on the map and recognize the ruins in the picture. From the Fourth Church of Marika.
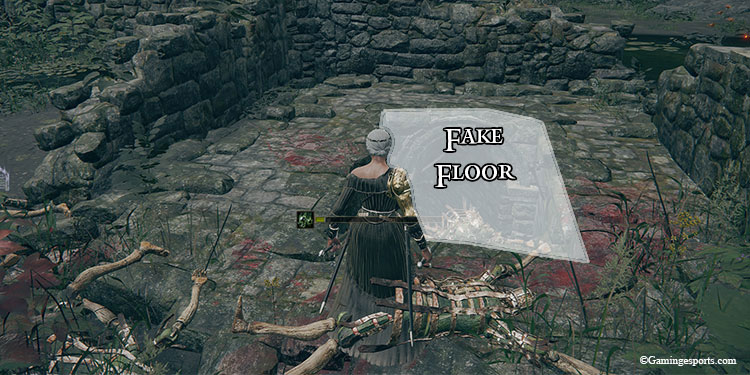
- You need to jump up and down on the spot or attack the floor to uncover a secret underground chamber.
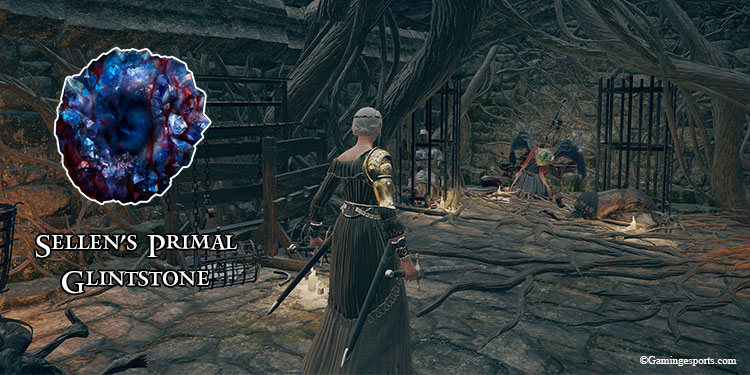
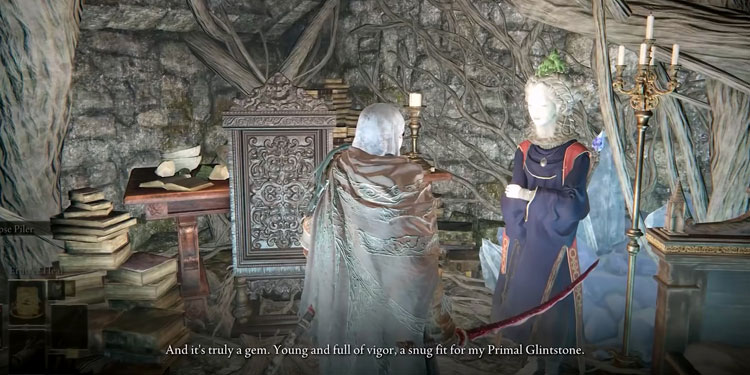
- Go inside and you will meet sorceress Sellen chained up on the wall. You cannot free her, instead exhaust her dialogues and you can receive her crystalline soul i.e. Sellen’s Primal Glintstone. Your work with this step is done now. Additionally doing this makes Sorceress Sellen disappear from waypoint ruins. Proceed to the next step.
What to Do if You Accidentally Attacked Sorceress Sellen?
Many players in frustration seem to have attacked the imprisoned Sorceress Sellen for not responding when you talk to her in the Witchbane Ruins location. Remember that the imprisoned Sorceress Sellen here will only recognize and respond to you once you hear her request from Sorceress Sellen in Waypoint Ruins.
If you are among the players who beat up an imprisoned lady, worry not, we have a detailed guide to perform absolution and pardon your sins. After that, you can proceed with the quest, as the NPCs you have attacked will have forgiven you.
Meet Witch Hunter Jerren
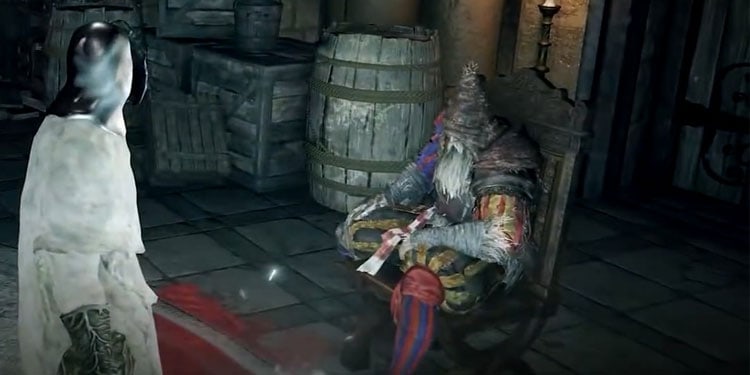
Head to the northmost part of Redmane Castle, the building from where you took the lift to fight Radahn. In the building’s what seems like a drawing room area, you should find Witch Hunter Jerren sitting on a chair. Interact with him and exhaust all his dialogues and move on to the next step.
Meet Witch Hunter Jerren and Dead Sorceress Sellen
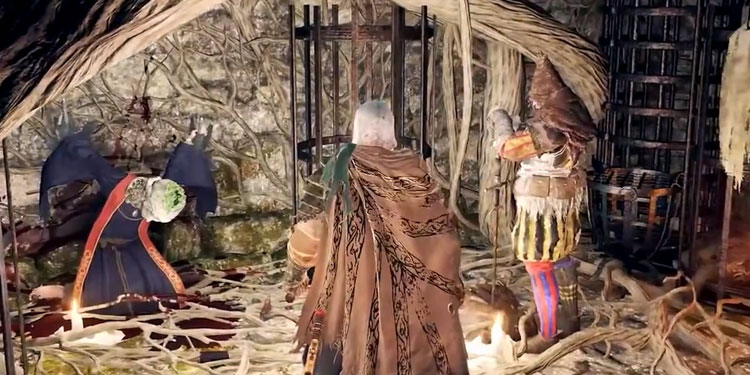
Fast travel to the Fourth Church of Marika Site of Grace in Weeping Peninsula. From there, once again head down to the Witchbane ruins, inside the chamber where you found Sellen imprisoned.
You should find Sorceress Sellen dead while her blood has drenched the floors, and Jerren standing beside her. It is very important to exhaust all his dialogues here before moving on to the next step. You will learn that Jerren is hunting Sellen, and he tells us she is a dangerous sorceress who scares him most of all.
NOTE: Sometimes due to your progress some steps in this questline can be skipped and Jerren won’t be found in the mentioned location, in that case just move on to the next step of this questline.
Free Sorceress Sellen by Taking the Primal Glintstone to Sellen’s New Body
There isn’t any way to free the imprisoned Sellen, instead, you have to take her crystallized soul, Sellen’s Primal Glintstone and deliver it to her new body. If you haven’t found the Primal Glintstone yet, scroll up this guide to know where it is located and how to obtain it. Once you have it you have to find a new body for Sellen.
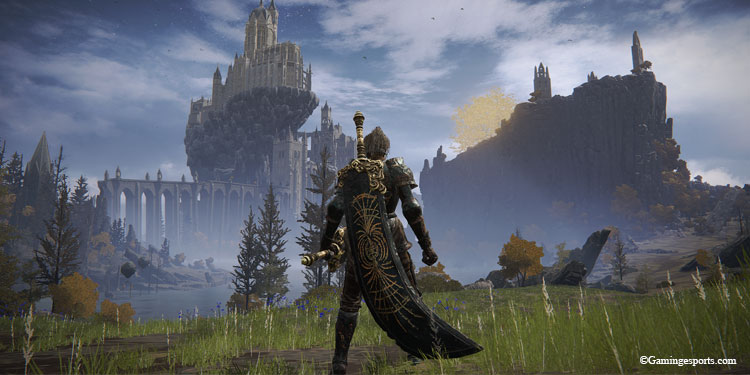
This new body is located in the Three Sisters Region, in the Northernmost part of Liurnia. First, we will briefly guide you to the Three Sisters Region and then will help you locate the chamber where the new body of Sorceress Sellen will be found.
How to Get to Caria Manor and Find Three Sisters Region?
To start your journey to reach the Three Sisters region, you have to start in Liurnia. Try to reach the area marked on the map as Lakeshore, you can simply ride torrent across the lake to get there. The marker is along the northwest coastline of the lake.
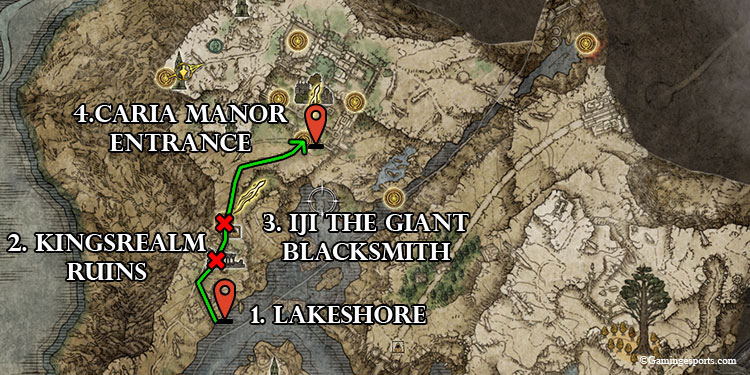
First, reach the Caria Manor. This is a dungeon that leads you further into your path.
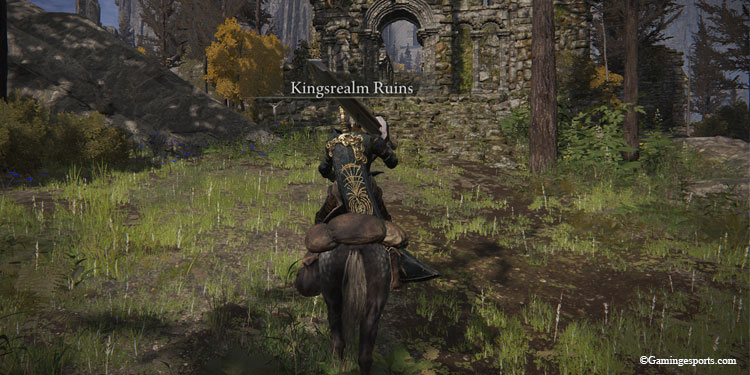
- Once you reach the Lakeshore, follow the path north and cross KingsRealm Ruins. There are some enemies here, you can simply ignore them.
- As soon as you cross the ruins you will meet Iji the Royal Blacksmith, who is a friendly giant. Exactly in front of him is a Site of Grace called Road to the Manor.
- Follow the path north towards the entrance of the huge castle estate in front of you and enter to find yourself inside the Carian Manor. This place is a dungeon so be prepared.
How to Reach the Three Sisters Region Through the Caria Manor?
To reach the Three Sisters Region from the Caria Manor you will have to fight your way through the obstacles and guards that are placed to impede your progress. Below is a map with an outlined path along with the landmarks you will come across. You can use it and guide yourself through the manor.
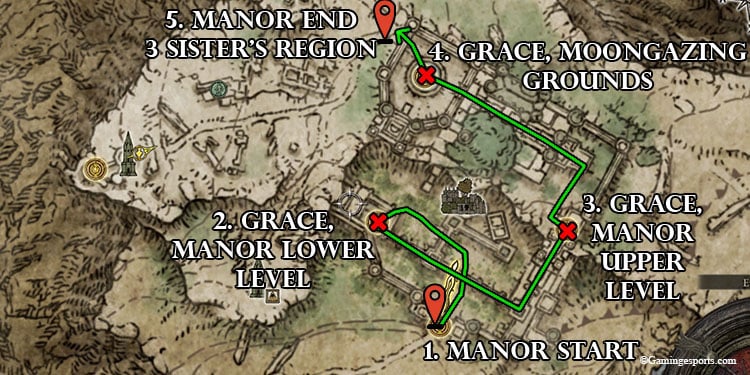
- Once you are in the manor, follow the path from the main gate and go straight till you reach a fountain.
- After you are clear of the fountains, the path bends towards the left sloping slightly uphill. Follow the path till the end and you see a building with blue glowing light on its entrance. Head towards there.
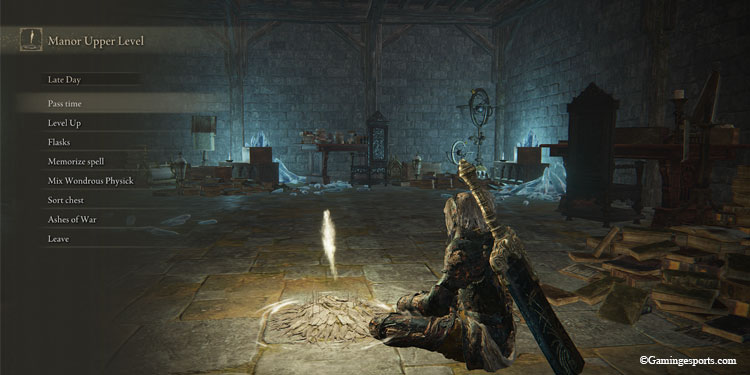
- Enter the building and climb upstairs to find your first Site of Grace i.e. Manor Lower Level.
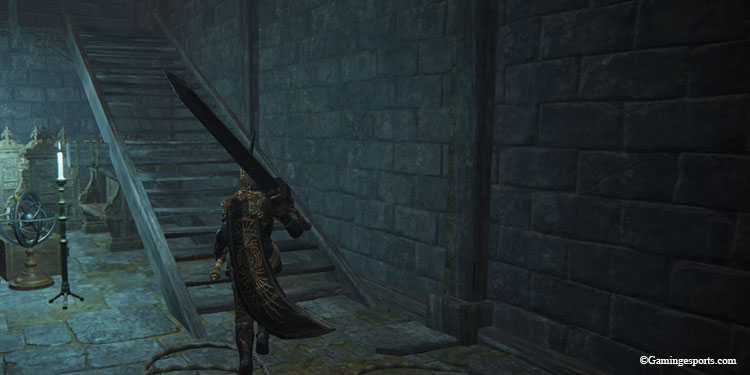
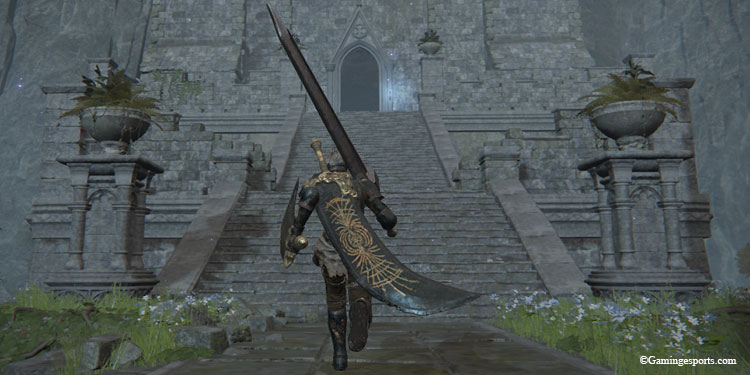
- Exit from the door near the Site of Grace and go straight, keep walking straight past the first tower. Some ghastly spectral knights should show up to attack you, regardless, do not turn left till your path is leading towards the large staircase as shown in the picture below.
- At the end of the large staircase is a lift. Take the lift up and it will take you to the second Site of Grace called Manor Upper Level.
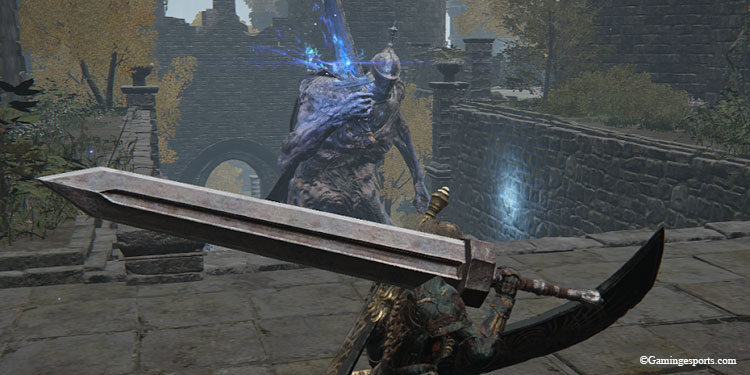
- Take the exit using the doorway from the Site of Grace, towards the new area. You will encounter a giant wolf prowling and guarding this path. From there, go right and enter the gateway path leading you to a large stairway guarded by sorcerers and one magic-wielding giant. Make your way past the enemies to the top of the staircase.
- Once you are at the top you will reach a door you can enter. Go through the door, but be on your guard as you will fight a boss here. The boss fight will not trigger till you go to the center of the circular portion of this area. There will be a fog wall preventing you from progressing to the next area till you beat the boss.
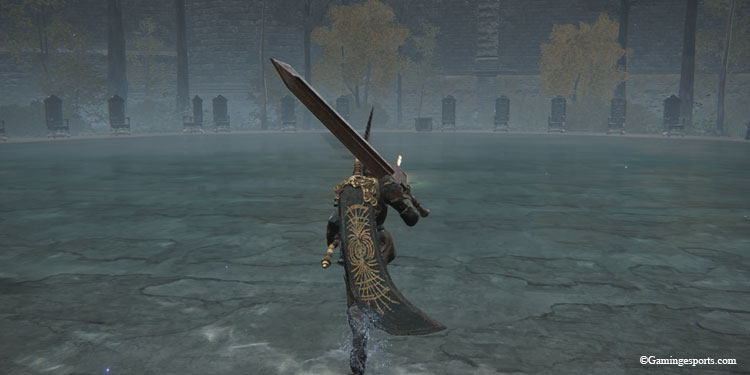
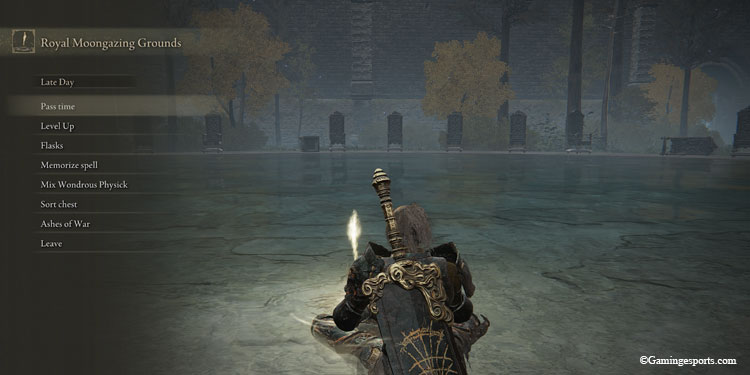
- Go to the center of the MoonGazing grounds and trigger the boss fight with Royal Knight Loretta, she is a horseback knight who wields sorceries. Once you defeat her, you can get a sorcery called Loretta’s Greatbow and Ash of War: Loretta’s Slash. You will also unlock a Site of Grace called Royal Moongazing Grounds.
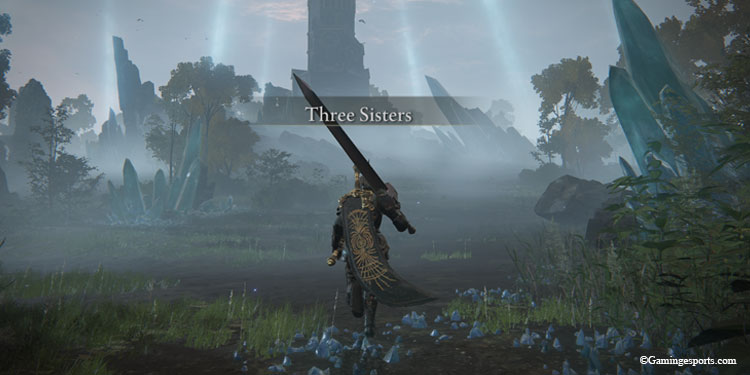
- If you noticed the doorway blocked by fog earlier, it should have opened once you defeated the boss. Get past this doorway and you will have reached the Three Sisters Region.
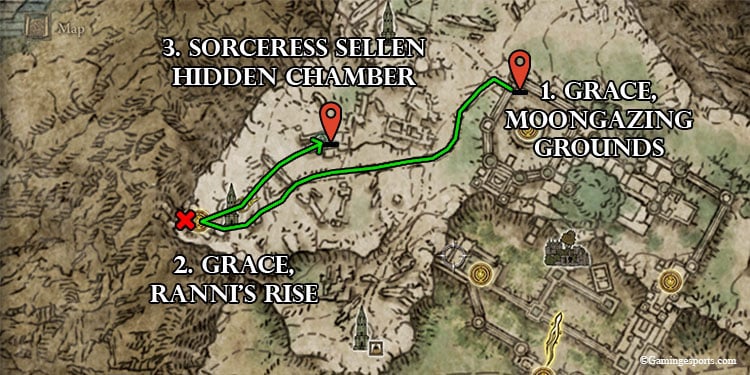
- Follow the marked map down this step to reach Ranni’s Rise. It is a tower and you can climb it to activate a Site of Grace. You can additionally follow the map to reach the final location of this step.
Once you are at Ranni’s Rise, get to the exit of the tower. You can now get back to rescuing Sorceress Sellen. Look slightly left from the exit or northeast along the map, you should see some faint ruins with dilapidated columns a bit downhill, head towards there.
If you are confused, follow the mark on the map above. Once you are in the ruins shown below in the steps, follow our suggestions.
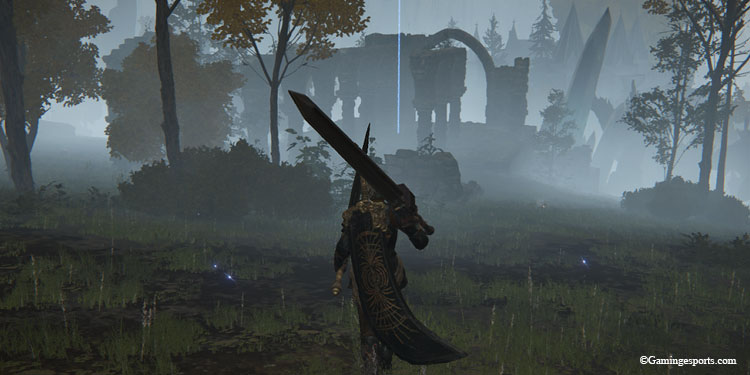
- Jump up and down at the center of these ruins or attack the ground to reveal a secret hidden underground passage.
- Go downstairs into the underground chamber and head to the opposite end of this room from the entrance staircase.
- Strike the wall there and reveal one more hidden chamber, this room houses Sellen’s new body. The body is initially unresponsive.
- Deliver the Primal Glintstone to this body and Sorceress Sellen will be revived. She will once again act as a merchant in this location and teach you spells. She will stay here till you make your way to the next location where she will appear.
NOTE: If you cannot find Sorceress Sellen or Witch Hunter Jerren at any of the above-mentioned locations, it has been reported that the questline may have skipped to the next step because of your progress. Head to the entrance of Raya Lucaria Academy and follow the next part of this guide.
Fight Sorceress Sellen or Fight Witch Hunter Jerren?
Once you make your way to the Raya Lucaria Academy, reach its end, to the library where you fight Rennala. We have a detailed guide to help you reach Rennala, in case you need any help.
After you defeat Queen Rennala, you can fast-travel to the center of the Library directly. Go to the doorway outside of the library where the boss fight occurred.
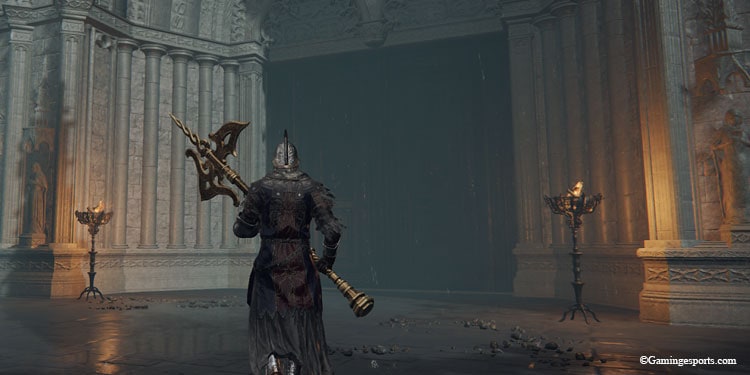
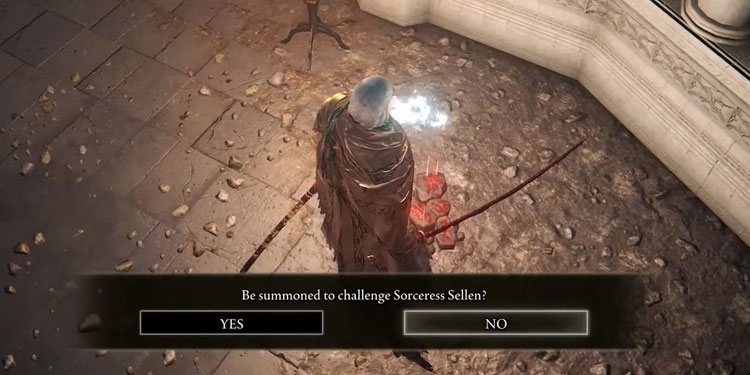
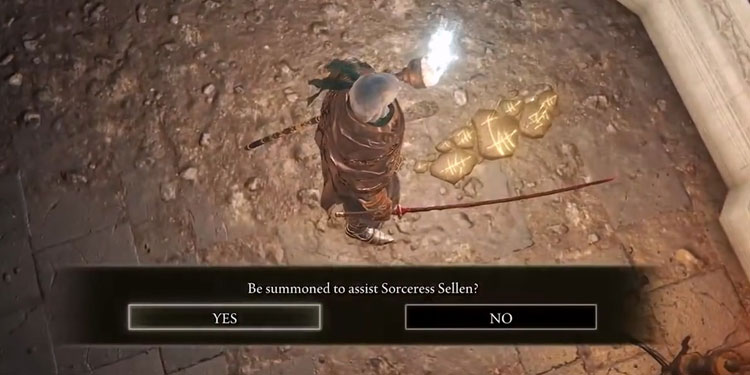
You should see 2 summon signs on this doorway. One red and one golden, this is a choice. Choosing red means you fight sorceress Sellen and help Jerren, choosing gold means fighting Jerren and helping sorceress Sellen. Below we have given the details on what each choice you make entails.
If you choose the red summon sign to help the Witch Hunter Jerren kill Sorceress Sellen, you will lose access to many items, but you will get Sorceress Sellen’s Ball Bearing and Witch’s Glintstone Helmet as a drop after you kill her in combat.
Additionally, you will be rewarded by Jerren as he gives you one Ancient Dragon Smithing Stone to upgrade your weapons. In my opinion, this pales in comparison with what you can receive after siding with Sellen.
If you choose the golden summon sign to fight and kill Jerren, by helping Sorceress Sellen, you will get the whole armor set worn by Jerren as a reward, i.e. the Eccentric’s Armor Set.
Additionally, you will be rewarded with Glintstone Kris, an unique magical dagger. Not just that, Sellen will now sell you a new spell called Shard Spiral. This is not the end of the rewards if you help Sellen.
You can return to the places where you found the crystallized body of primeval sorcerers, Lusat and Azur, and pick up their complete Armor Sets. You can also find Witch’s Glintstone Helmet in the Rennala boss fight chamber once Sellen moves on to a new body.
Choosing to kill Sellen by helping Jerren will lead you to miss out on many unique items. So in conclusion, we advise you to choose to help Sellen defeat Jerren because you will get items and armor sets that will get locked out permanently for the remainder of that particular playthrough.
Still, the choice is up to you. Even if you decide to help Sellen, there are consequences and it will come with a price for her.
What Happens After You Complete Sorceress Sellen’s Questline?
The aftermath of Sorceress Sellen’s questline is quite weird and confounding, but let’s try to piece all the facts together.
Once you complete helping Sellen, she seems to have fulfilled her wish to give a proper burial to the two legendary Primeval sorcerers, Azur and Lusat by returning their remains to Raya Lucaria Academy.
If you go back to the locations that had the Primeval sorcerer duos’ crystallized corpses, their body will have gone, with their armor set left as loot for you to pick up.
Completing Sellen’s questline also makes the boss fight with Sir Gideon Ofnir, The All-Knowing, a bit easier as he becomes unable to cast Comet Azur spell.
Sellen also adds that she has finally been freed to be herself and once again is able to bring the currents of primeval and pure magical forces back into Raya Lucaria. But, her freedom also became her undoing.
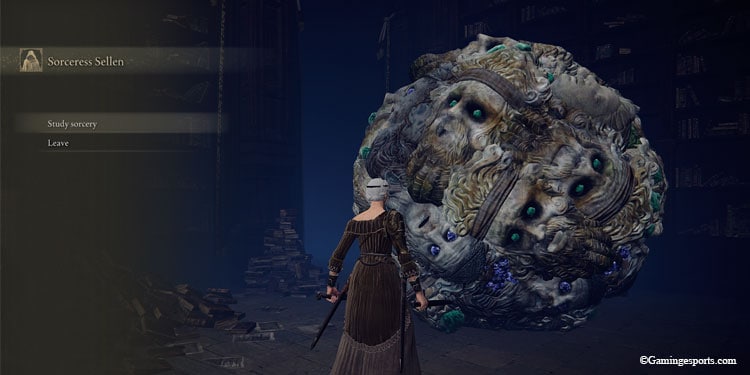
Afterward, if you return to Sellen in the Library of Raya Lucaria Academy, she will have morphed into an ugly ball of wizard head statuettes. She can barely even speak to us. Her helmet will be laying on the ground as loot we can pick up.
Morphed Sellen will still sell you the spells, but we do not know if the big clump of monstrous wizard head is even Sellen herself. However, its words do have some of her resemblances left as the ball of heads recognizes us as their apprentice.
Some say Sellen’s ambitions backfired, her insatiable thirst for knowledge and power changed her into that monstrous form we finally see her inhabiting.
Us? We are left with questions. Was Witch Hunter Jerren right to go against her? Should we have taken his side and stopped Sellen from turning into the monster by killing her?
Whatever fortune might favor, in Elden Ring all depends on what we choose, and with some clarity, it can be said, such is the fate of our relationship with many characters we meet, whether it be in the game or in life.
