There is no doubt that Valorant is one of the most emerging and influential Esports of this generation. It has quickly risen as one of the most popular FPS games and gained massive popularity around the world.
It is also equally easy to install and play. But can you play Valorant if you’re on a Mac? If you are a Mac user, then you might have this question since Macbooks aren’t really known for gaming.
Before you complain about how your Mac does not support any good games and how it ruined your passion for gaming – Yes, you can play Valorant on Mac, but there’s a catch!
As Valorant isn’t officially released for Mac yet, you’ll have to do a little workaround to install it if you have a Mac. To install Valorant on your Mac, you’ll first need to install Windows 10 or a later version of Windows on your Mac. Now, to do that, you can either use the Boot Camp Assistant on Mac or a trial version of a software called Parallels.
Table of Contents
How to Install Windows 10 (or 11) on A Mac?
There are two ways you can install Windows on Mac. The first and most popular method is to use the macOS’s Boot Camp Assistant feature. And the other method is to use software called Parallels.
By Using a Boot Camp
Boot Camp is perhaps the easiest and most popular way to install Windows on Mac. It uses the application called Boot Camp Assistant to install Windows. Here’s detailed information on how you can install Windows on Mac using Boot Camp.
Download the Windows ISO File
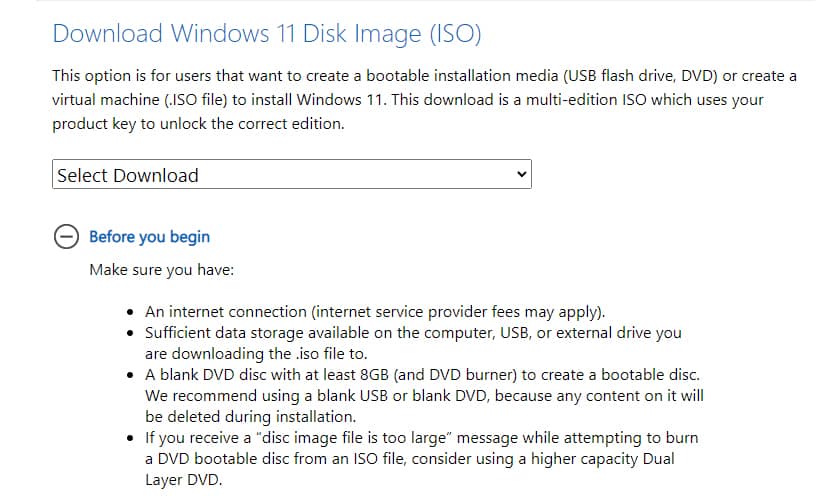
To install Windows on your Mac, you first need an ISO image of Windows and a USB drive with at least 8GB of memory. To create a bootable USB:
- Open your web browser and go to Microsoft’s official Windows 11 download page.
- Scroll down till you see the Download Windows 11 Disk Image (ISO) heading, and click on Download below it.
- Now, select the download location as your USB drive and click on Save.
Create a Partition Drive
Now that you have created a bootable USB drive, the other step is to create a partition for installing Windows and then install Windows itself.
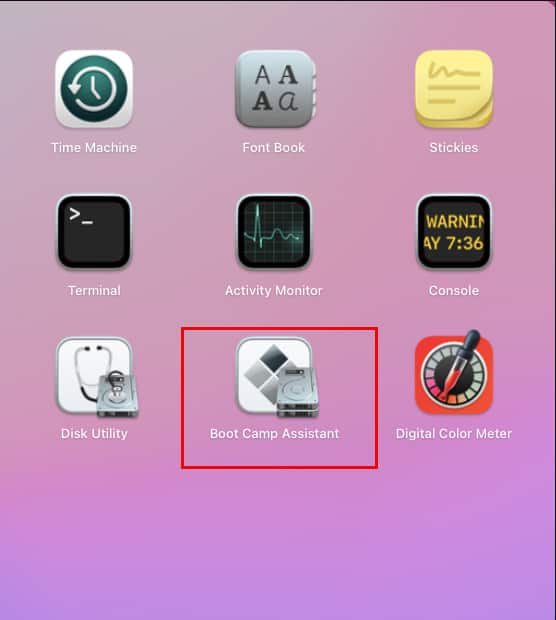
- Click on Finder from the Menu bar, then select Applications.
- Now, click on Utilities and open Boot Camp Assistant. (Also, plug in your USB drive.)
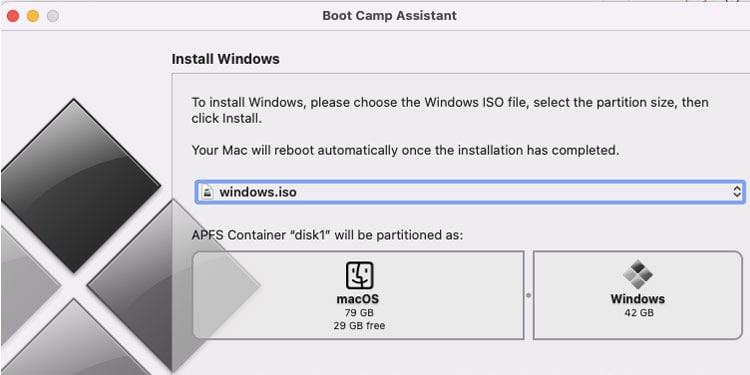
- Click on Choose and select the downloaded Windows ISO file from your USB.
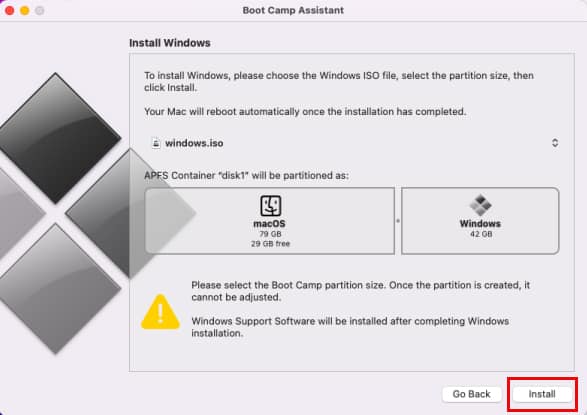
- Now, click on Install.
- You will now need to allocate a partition size for Windows. As you cannot change this later on, you should make sure that you create a large enough partition for both Windows and Valorant.
- After creating the partition, your Windows Installation will begin.
Finish Installation
Your Windows installation will now proceed smoothly and will complete shortly.
- After you see the Windows Setup screen, follow the steps and fill in the necessary information when needed.
- Once the installation is complete, you should be able to use Windows applications on your Mac without any problems.
You can also change whether your Mac will boot into Windows or macOS when you power up your Mac. To do that, simply restart your Mac, then press and hold Option key on your keyboard. Now, choose Boot Camp if you want to restart it in Windows and Macintosh HD if you want to boot it in macOS.
By Using Parallels Software
If your Mac isn’t Intel based or has an M1 chip, then it’s not possible to install Windows on it using Boot Camp. The only way to install Windows on M1 or Intel-based Macs is by using the Parallels Software.
- Firstly, open your web browser and go to the Parallels site. Now, click on “Try Now” to download the trial version of this software.
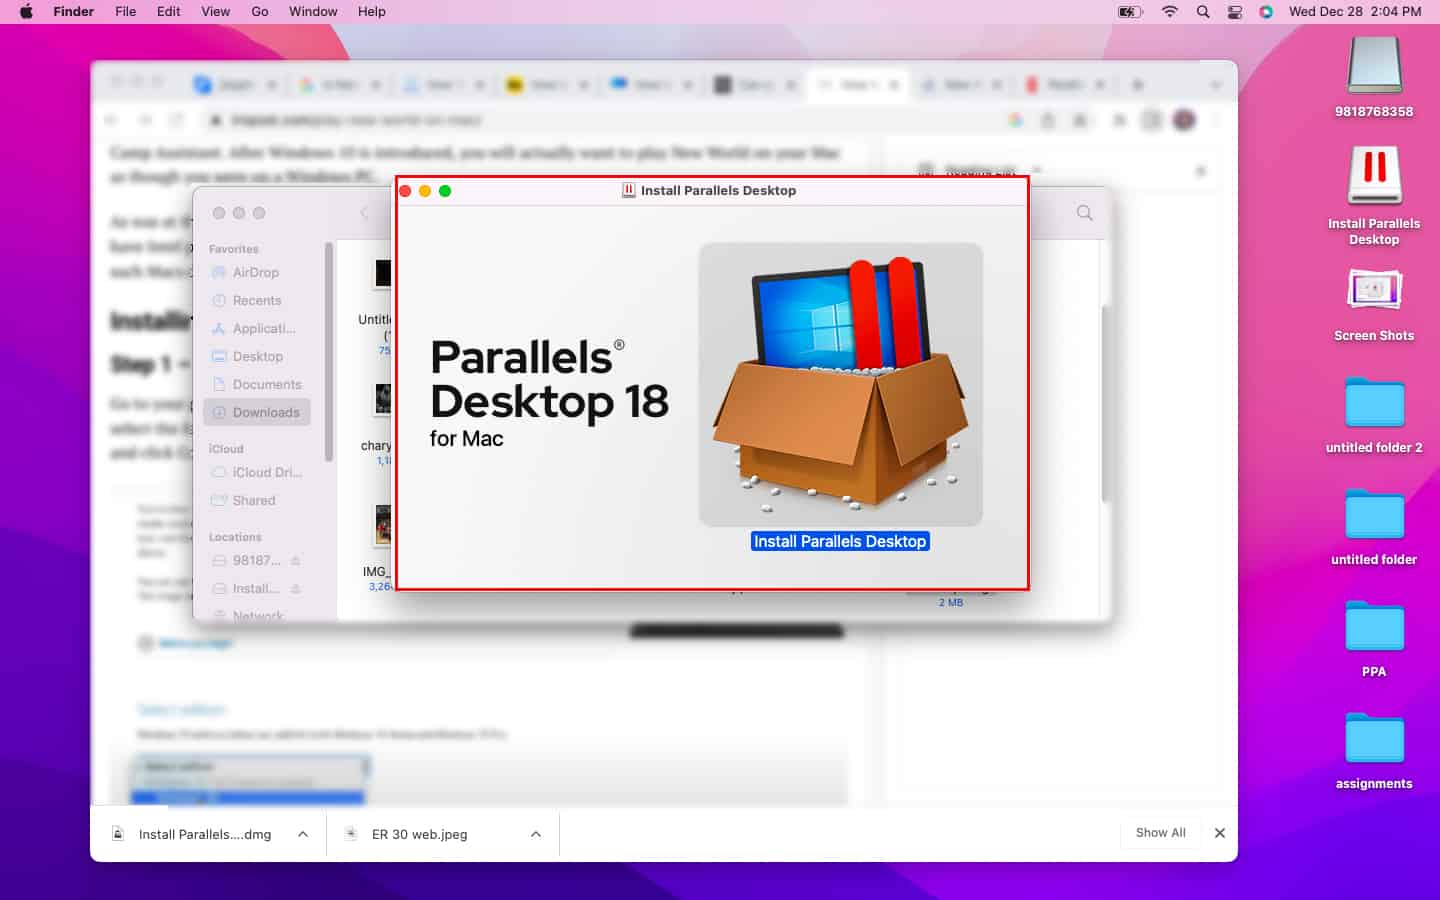
- Once downloaded, go to the downloads folder and install the program.
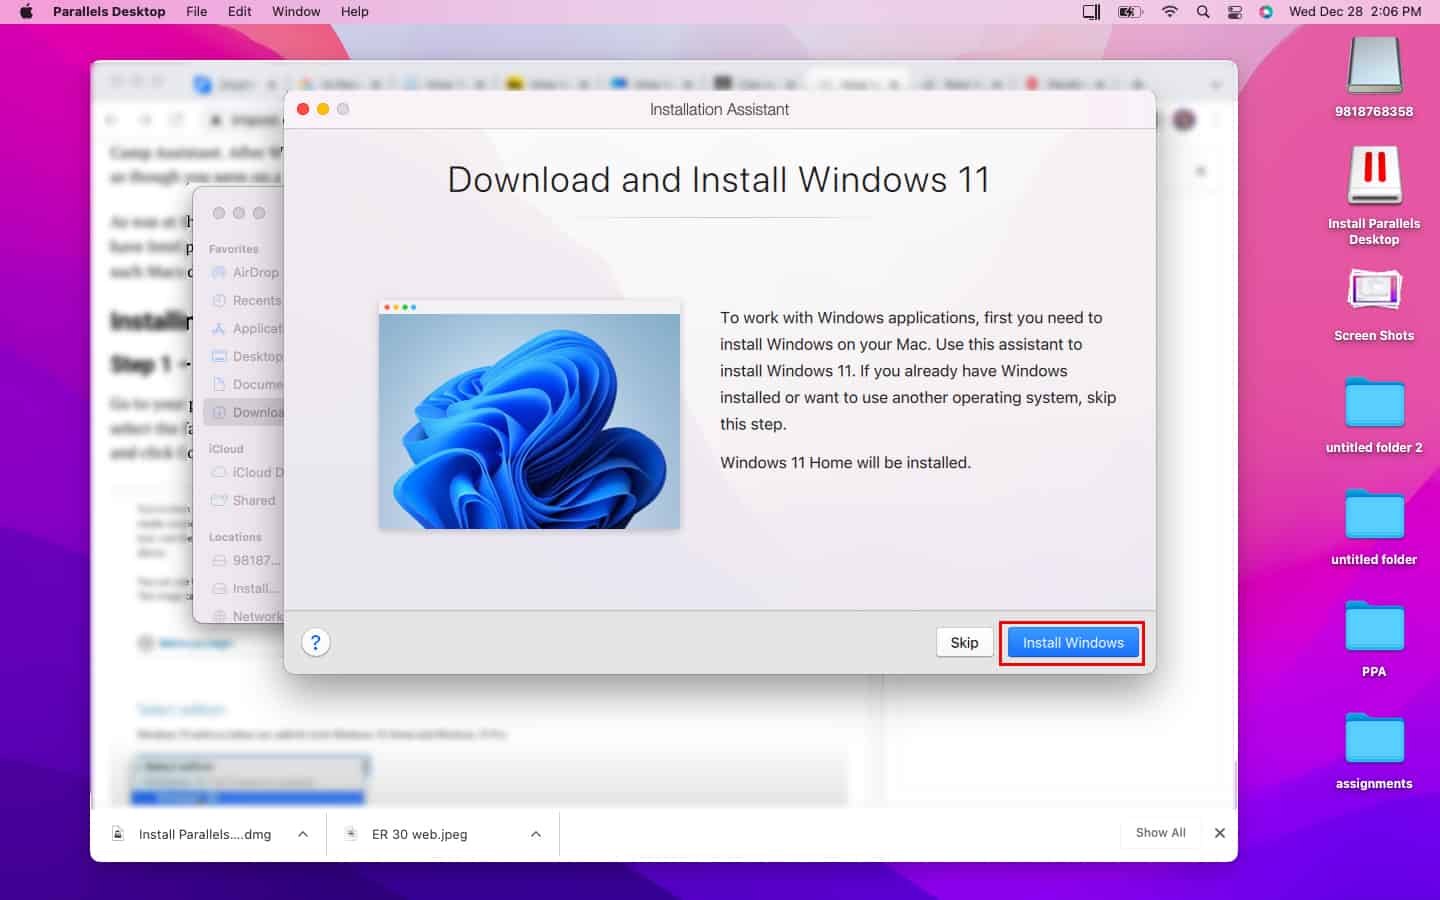
- After installing, launch the program and select “Install Windows”.
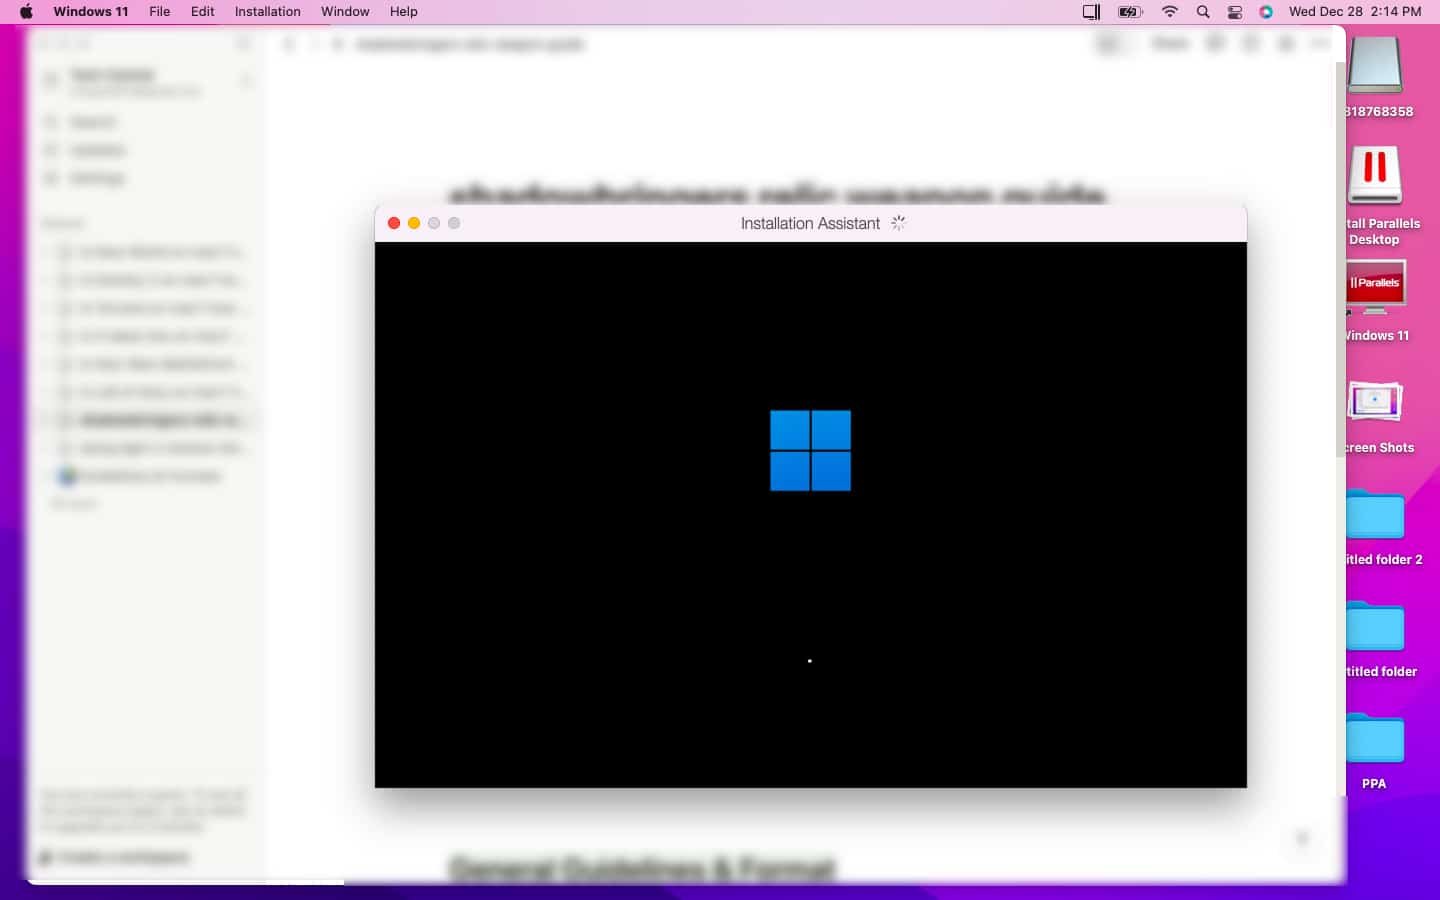
- Now, log in to your newly created Virtual Machine by either creating a Parallels account or using other sign-in options.
- After entering the virtual machine, you can download any Windows application and run it on your Mac. (Inside the Virtual Machine.)
How to Download Valorant on Mac?
Now that you have installed the Windows emulator on your Mac, you will be able to install and play Valorant on your Mac.
- Launch your virtual machine and open the web browser once it’s launched.
- Go to Valorant’s official website.
- Now, click on the Play Free button. It will then download the Riot Client application on your PC. However, you’ll need to log in to your Riot account before you can download it. (At this point, you should probably make a Riot account if you haven’t already).
- Once the download is complete, navigate to your download folder and install the app.
- After installing, launch the app and log in to your Riot account. Once you’re logged in, click on Valorant from the list of games, then click on Play.
- It will then download Valorant on your Mac.
