Creating Games on Roblox is easy. No codes, no designs, drag and drop pre-made items on your game world, and voila! You now have a full fledged game. Yes, it’s that simple.
It sounds skeptical, but that’s how Roblox Studio works. Whatever you do inside the game relies on your skill level and imagination. Of course, you can build both sweet or badass games in it, but some games may require a bit of programming as well.
Downloading Roblox Studio is the first and the most essential step since it is the platform where you can explore the limitless possibilities of creating fun and amazing games.
In this article, we will learn how to make a racing game so, let’s begin.
- Open Browser, go to Roblox’s official site, and log in with your account.
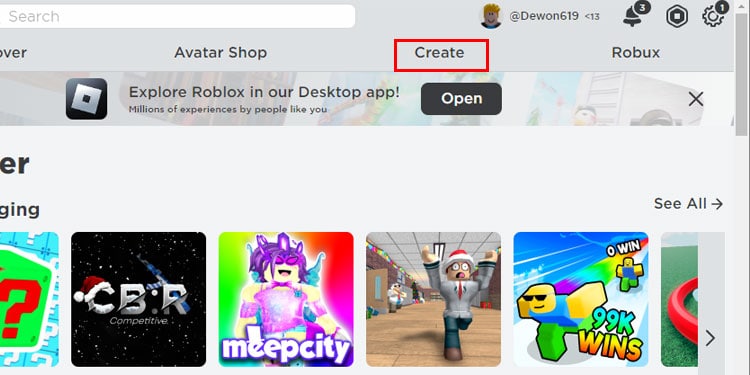
- Click on Create.
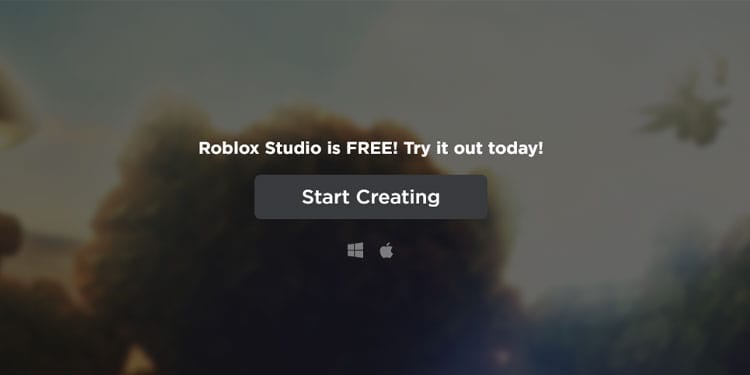
- Click on Start Creating. This will prompt the download. Save that file to your PC and install the Roblox Studio after the download completes.
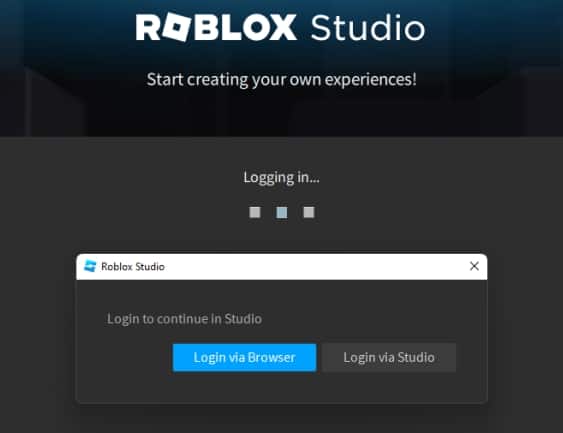
- After that, open the Roblox studio, the app prompts you with two options. Click any of the two to log in.
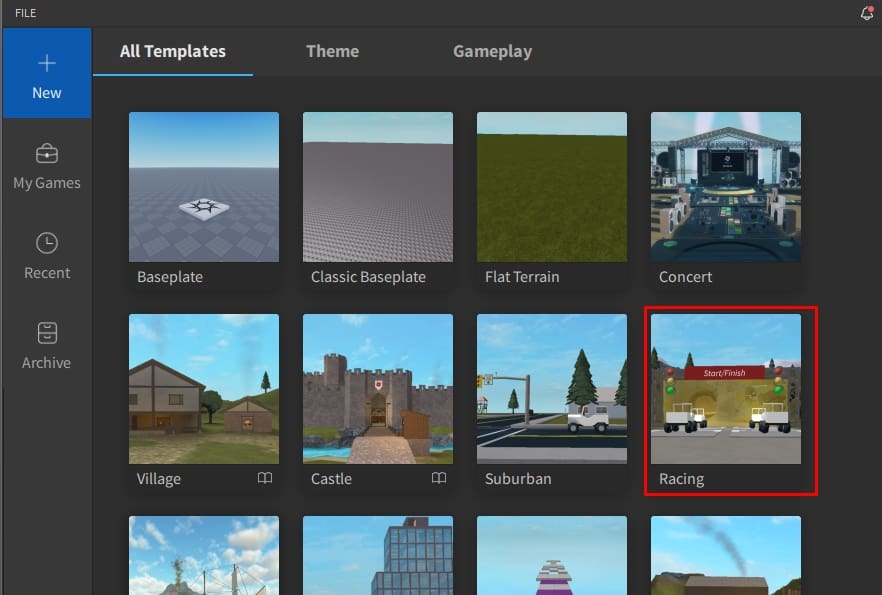
- Then choose the template that says racing which will load the environment with cars and tracks.
- Hold the Right mouse click to look around, Scroll to Zoom In and out, Hold the scroll mouse button to move sideways within the scene, and finally, hold the left mouse click to drag objects across the area.
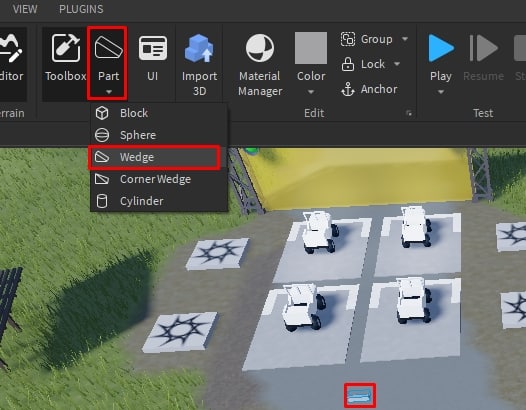
- You can add various shapes and objects in the game named as Parts. Click on Parts and select Wedge. Sometimes when you have multiple objects, it might get difficult for you to see that object instantly. In that case, Pressing ‘F’ will allow you to view your selected object.
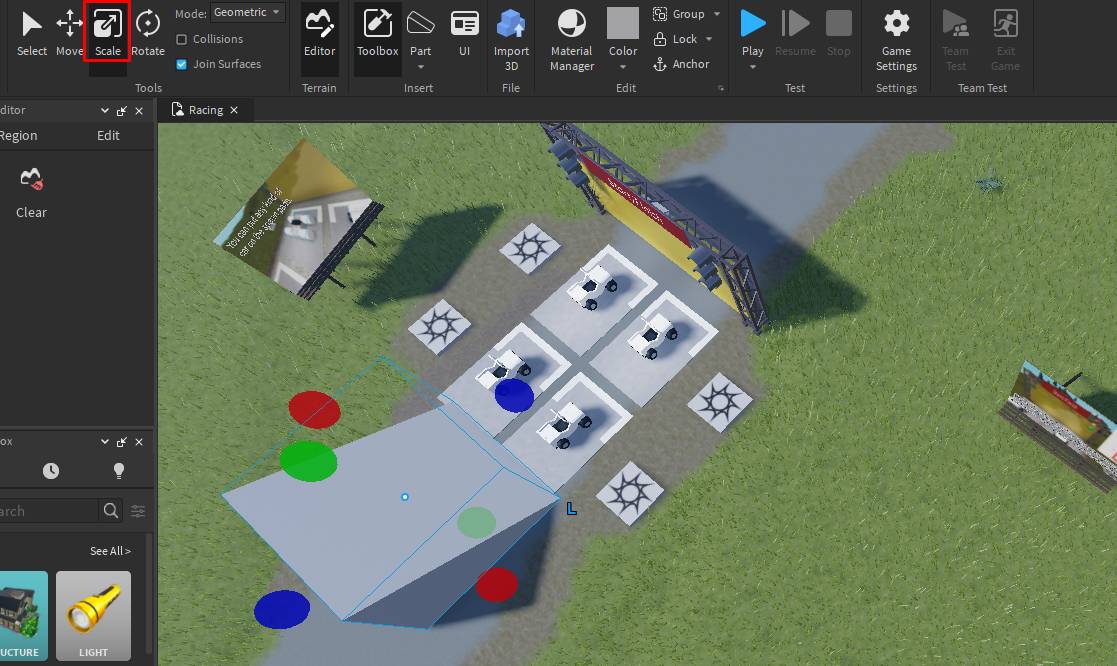
- You can even enlarge the wedge. For that, use the Scale tool. After selecting the scale tool , the four-color dots appers on each sides. Click and drag respective sides to adjust your object.
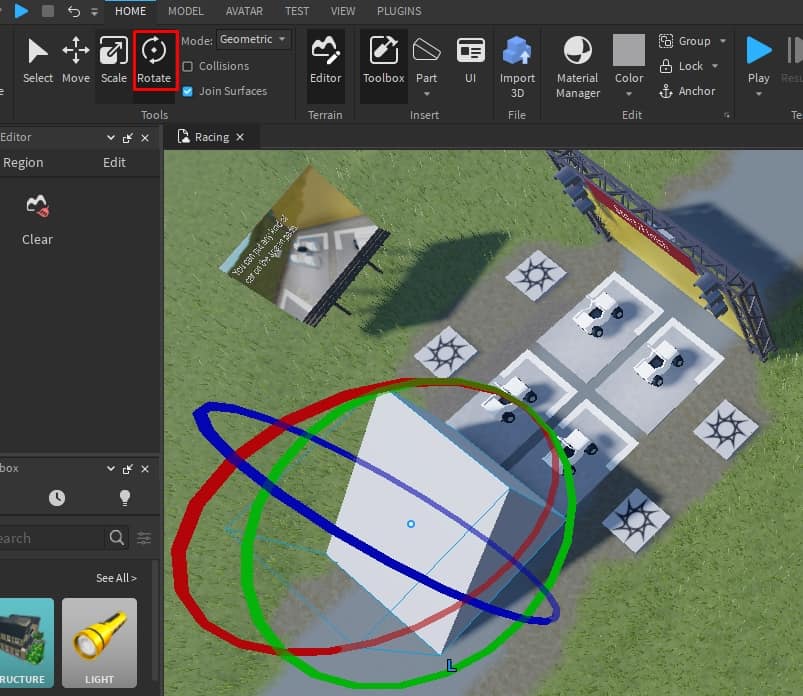
- To place the object correctly on track, use the Rotate tool. The Rotate Tool allows rotation and just like the Scale tool, it has four colors applying rotation to different sides when clicked and dragged.
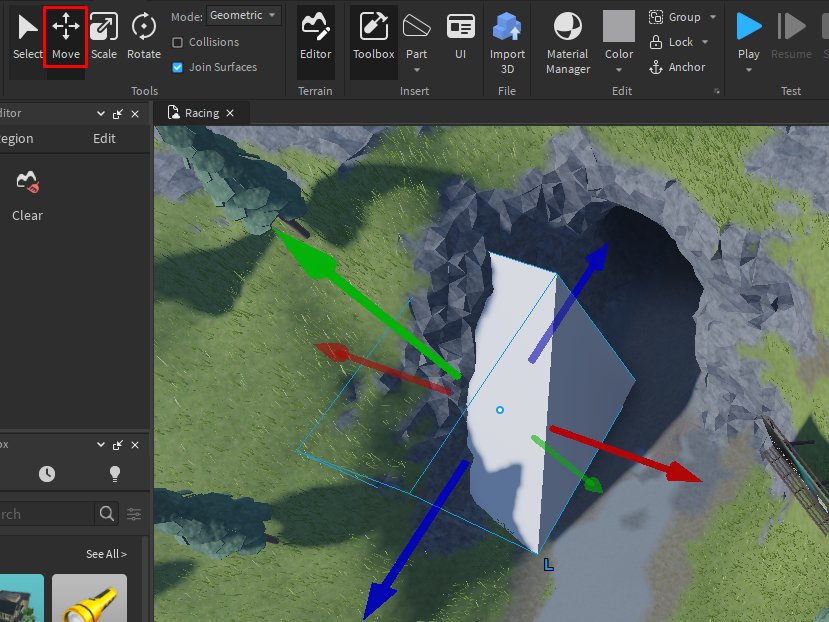
- To move the wedge, simply click and hold on the wedge and you can grab and place it on any surface. For precise movement, you can use the Move tool.
- Use other parts such as Blocks or Cylinders and tweak them with tools to make your game more challenging. You can even duplicate the objects, simply press the ‘D’ key.
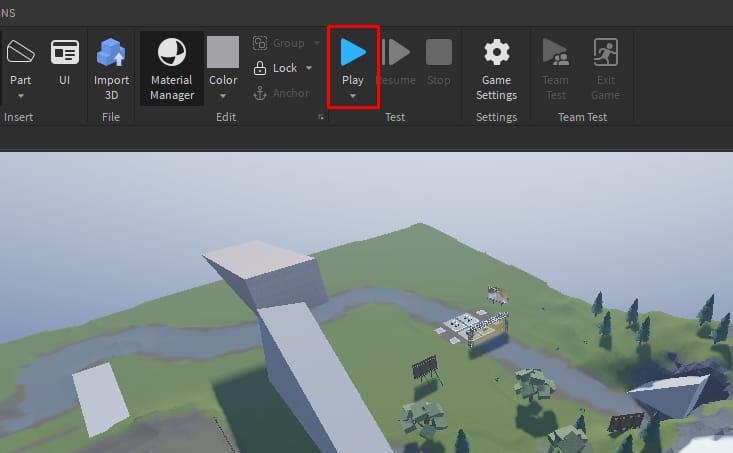
- You can further enhance your game with more parts. After you are done with everything, Click on the Play icon, and the app will load the template in game mode. (In the game mode, you test your game by playing it in real time)
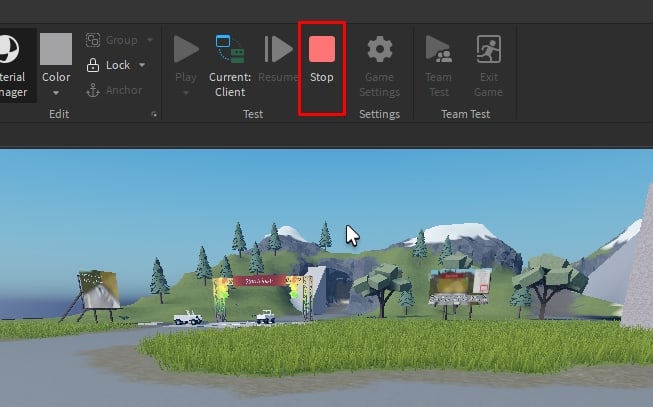
- Click on the red Stop icon to go back to the creator page.
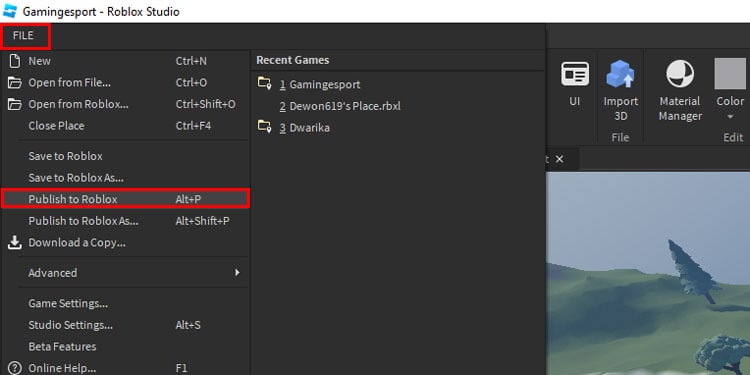
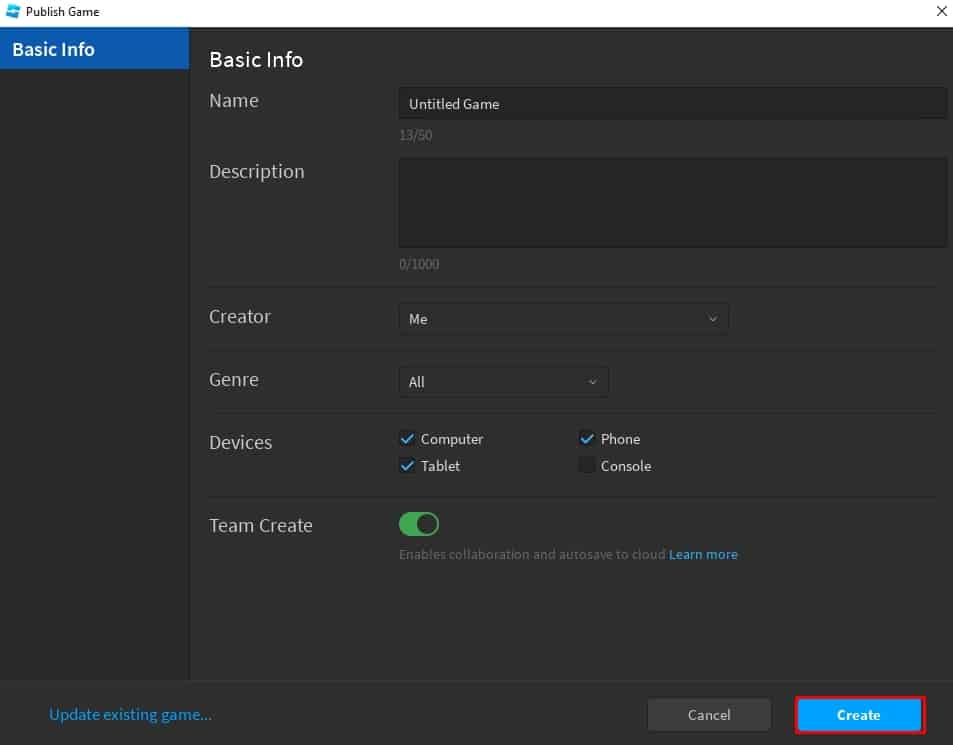
- Now go to FILE and click on Publish to Roblox.
- Fill out the basic info inside Publish game and Click on Create.
The game is now available and updated on your create tab. You should now go to the Roblox site to open your game.
Open Your Game in Roblox Player
Once you have created and published your game, It’s time to play and test your game if it’s working correctly or not.
- Close the Roblox Studio and Go to Roblox’s official site from the Browser.
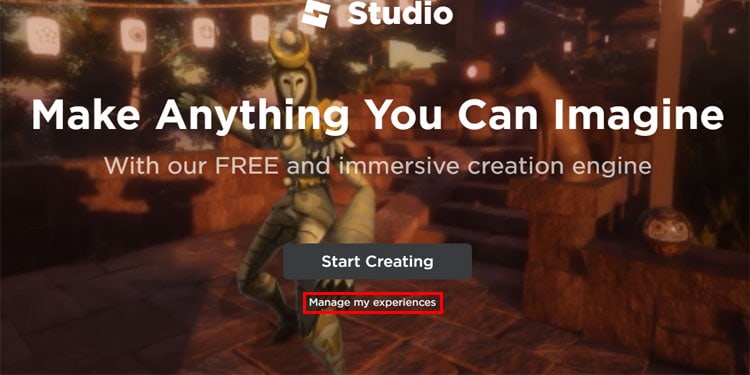
- Go to Create and Click on Manage my Experiences.
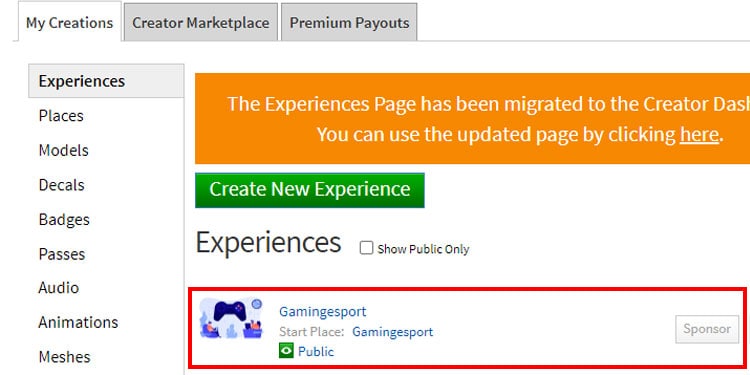
- You can see your recently created game on My Creations. Click on your game.
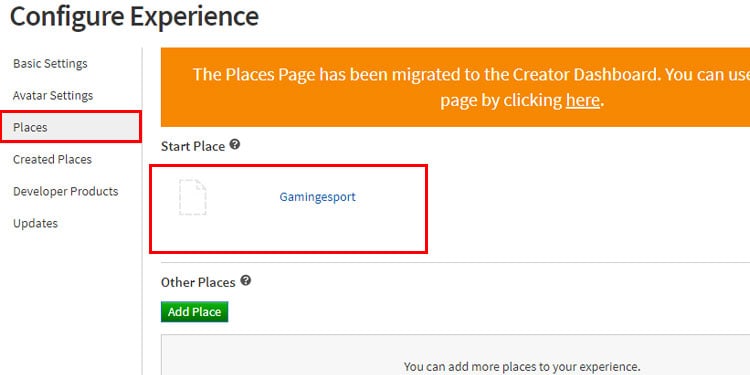
- Under Configure Experience, select Places, and click on your game.
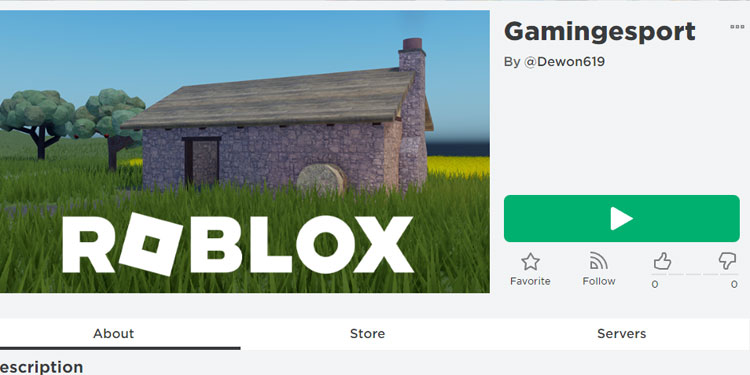
- Now, you are inside your game page. All you have to do is to click on the green play button and enjoy what you just made.
There you go, my fellow readers. You have now successfully created a game. You can tweak and drop items, add more vehicles, buildings, weapons, and do anything that is possible during editing. Just don’t forget to select Publish to Roblox under File.
Various Tools for Creating a Roblox Game
If you are an absolute beginner in the field of game creation, then my guide will help you immensely. These are the tools and shortcuts that will efficiently make your work productive.
Explorer
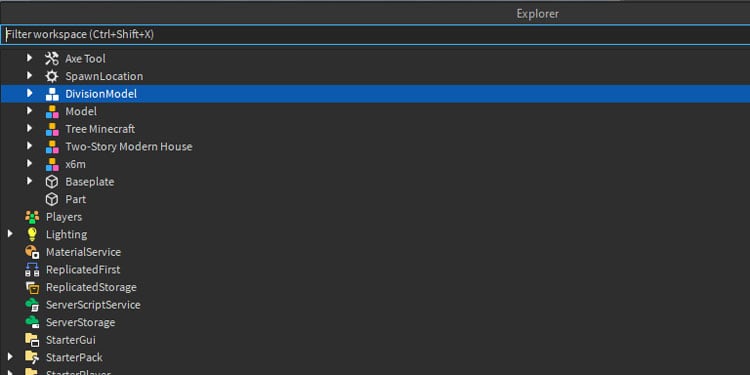
This is the place where everything you put inside your game is listed. From Simple parts to complex codes, everything is inside the Workspace. It is used for one essential purpose, to Organize everything in order.
If you organize all your asset during game creation, then it will be easy to find and tweak minor details inside the creation.
Tools and Snap to Grid
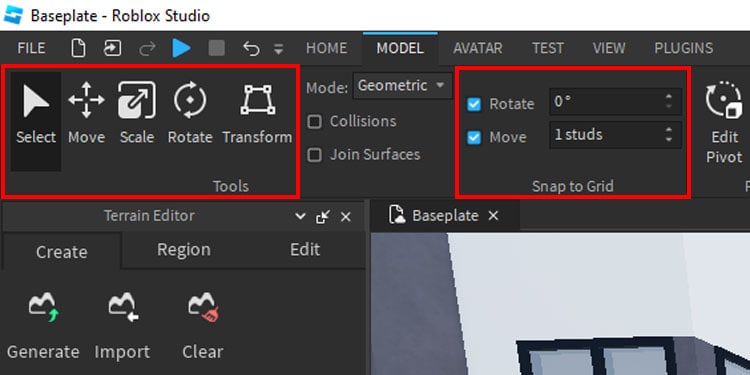
Learning about the Movement before starting your game will ease your movement controls. You can drag items with your mouse, but rescaling, rotating, and transforming are only done by tools. One really useful tool is Snap to Grid, where you can precisely control objects to mitigate unwanted gaps between them.
Models
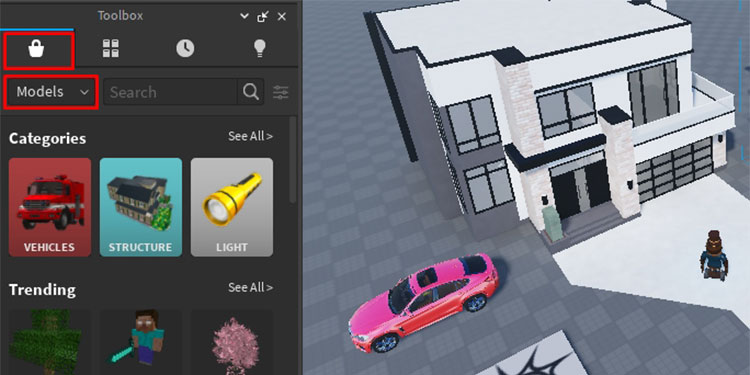
Once you are inside your Roblox studio file. You can see a Model window under the Marketplace tab, where you can find all models including interactive ones. Click on any category such as vehicles or buildings and you can find a library of models. Clicking on any model will automatically put that copy on your project.
These are excellent Assets that can redesign your game to a new level. You can insert buildings, vehicles, characters, and lights in your game with a simple click.
With interactive Models, you don’t have to program your weapon to shoot or vehicles to drive. The model comes with pre-made programming, and you can interact just like within the game.
Edit Pivot
Ever thought there could be an easy way to make a slope with a few clicks rather than adjusting the platform every time it clips underground? Well, Edit Pivot is the solution to your problem. With Edit Pivot, you can readjust rotation and transformation.
- Open Roblox studio.
- Go to My Games and Double click on the game you want to edit.
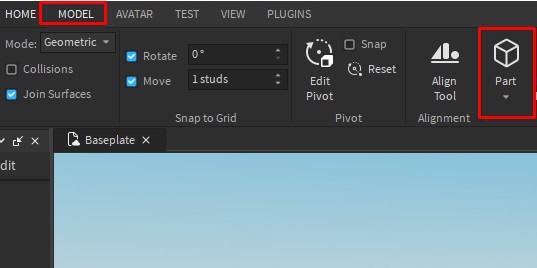
- Click on the MODEL tab.
- Clicking on Parts will automatically bring out objects in your game scene.
- Select the object you just created and press the ‘F‘ key, this will focus the object and the camera around it.
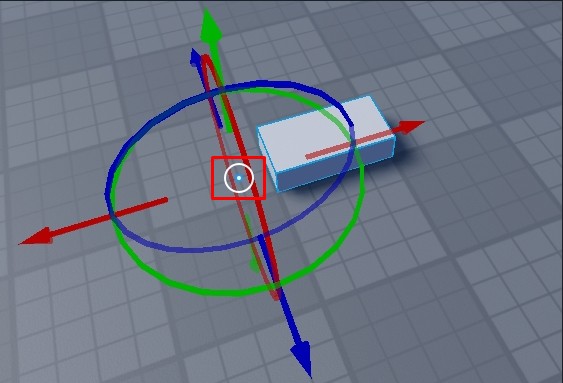
- Click on the drop-down arrow below Pivot and then click on Edit Pivot when the object is selected.
- You can now drag the tool anywhere by grabbing the center circle.
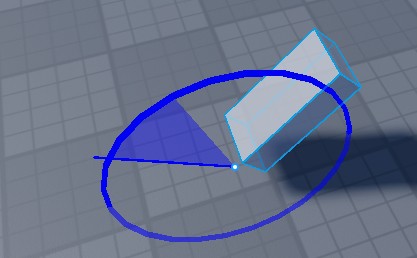
- Select the Rotate tool in the upper left corner and now you can easily make changes accordingly.
It’s a tool that allows you to dynamically move the object. The pivot is the center of any movement or scale tool. With Edit Pivot enabled, you can place the movement tool anywhere, and the object will behave according to where your Movement is.
Properties Windows
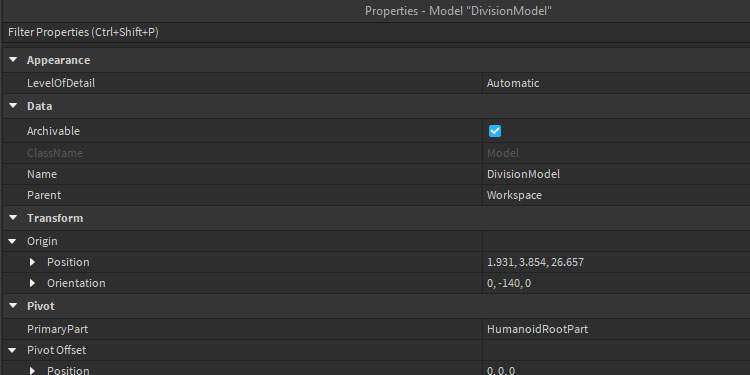
It’s an awesome tool to change your object texture, change object color, view object position, add attributes to change behaviors, and many more.
These are the essential tools for absolute beginners. There are many tools ranging from simple to complex, and all of them provide assistance to your smooth game experience.
How to Fix “The Experience Is Unavailable” Error ?
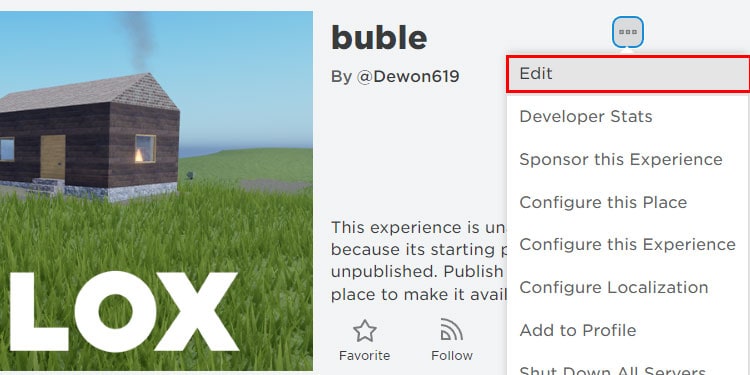
In few cases, you may see an error message on your game page “the experience is unavailable due to an unpublished starting place”. The site will tell you to Publish the starting place to play your game. All you have to do is Publish to Roblox once again through Roblox Studio. Here’s how you do it.
- Click on three dots and select Edit. This will open Roblox studio with your game.
- Go to file and Click on Publish to Roblox.
- Go back to your Roblox game page on the Browser and reload the page.
- Click on the Green play button, and it will redirect you to the Roblox player opening your game.
Note: You have to change the game to public from private in order to let other players play the game that you’ve just created.
