When you think about modding video games, no doubt Skyrim is the first game that comes to our mind. There are over 130k mods available for Skyrim with more than 4 billion downloads on Nexus Mod.
With the releases of Special and Anniversary editions on different platforms, the number keeps increasing. All thanks to the modding community for keeping things fresh in a game that is over a decade old.
While the vanilla game is fun in itself, mods can dramatically change the user experience for newbies and veterans.
The possibilities are endless as you can add or change almost any element in the game through mods ranging from adding subtle changes all the way up to adding DLC-sized questlines. But for most cases, mods are used to overhaul the graphics, UI elements, game mechanics, questlines, etc.
While the process to install Skyrim mods might seem complicated, it is rather simple. For PC, you can install mods from a mod manager whereas console players can directly install it in-game. If you’re keen on learning more about Skyrim modding, keep reading!
Note: As mods can affect your saved file, it would be best if you make a backup of it.How to Mod Skyrim on PC?
To begin with, you’ll need a copy of the game on PC, the mods, and a mod manager. There are multiple versions of Skyrim. But for our testings, we’ve taken Skyrim: Special Edition. Similarly, we’ve used Nexus Mods to download our Skyrim mods, as it hosts the largest library of mods on the internet.
Step 1: Install a Mod Manager
Firstly, you must install a mod manager before downloading Skyrim mods. There are multiple mod managers on the internet that are capable of installing and organizing your mods. i.e. Nexus Mod Manager, Mod Organizer 2, Vortex, etc. We recommend using Vortex as it is easy to use compared to others.
- Register your account in Nexus Mods.
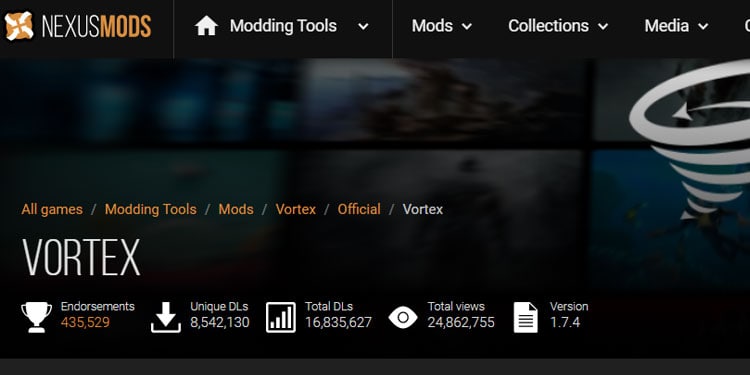
- Head over to Vortex on your web browser.
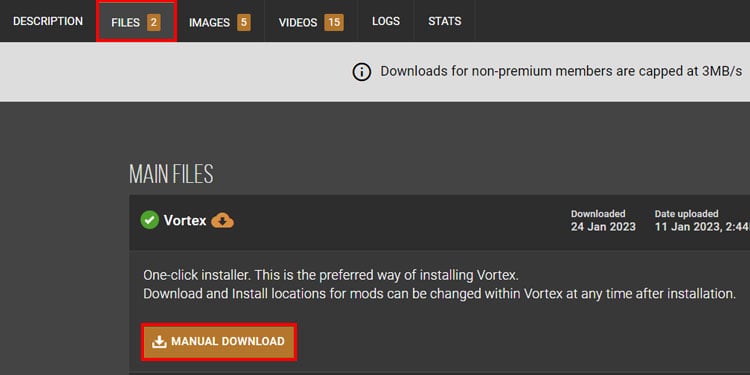
- Under main files, click on Manual download.
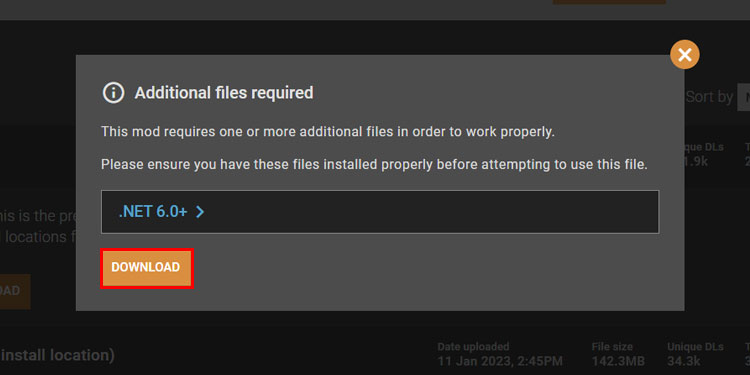
- Click download on the prompt. Ensure that you have .NET 6.0 Desktop Runtime installed on your system. You can also follow the given link to download it.
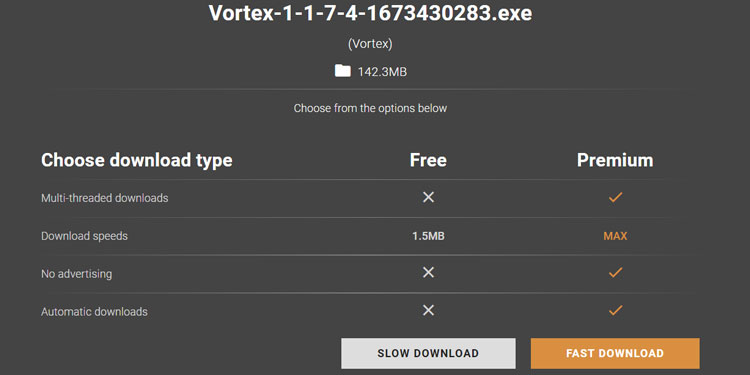
- You can choose the download type. Click the Slow Download for the free version or Fast Download if you prefer the premium version.
- Install Vortex and launch the application.
- You’ll need to link your Nexus account with Vortex. Launch Vortex and click on the red profile icon at the top right corner.
- Click on the Login on Website option.
- Click the Authorise button to let Vortex access your Nexus Mods account.
Step 2: Install the Mods
There are a couple of different ways to install the mod. You can either use Vortex to automatically download and install the mod or you can choose to download the mod file first, then install it via the mod manager. The latter option can be helpful if you prefer mods from other websites i.e. moddb, tesalliance, etc.
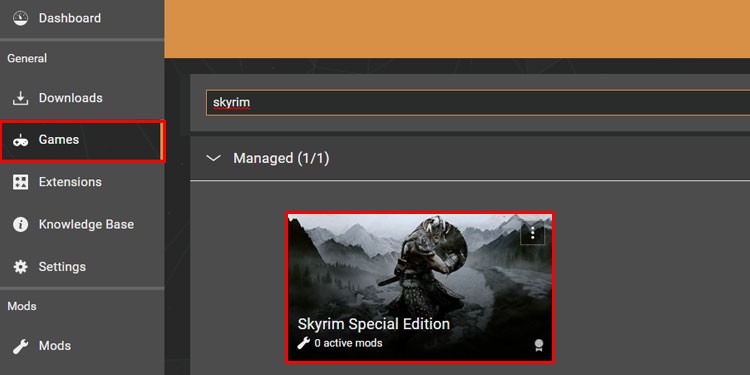
- Launch Vortex and switch to the Games tab. Here, search for Skyrim on the search bar.
- You’ll be given multiple editions of the game. Pick the version that you currently have installed. We’ve chosen the special edition for this demonstration.
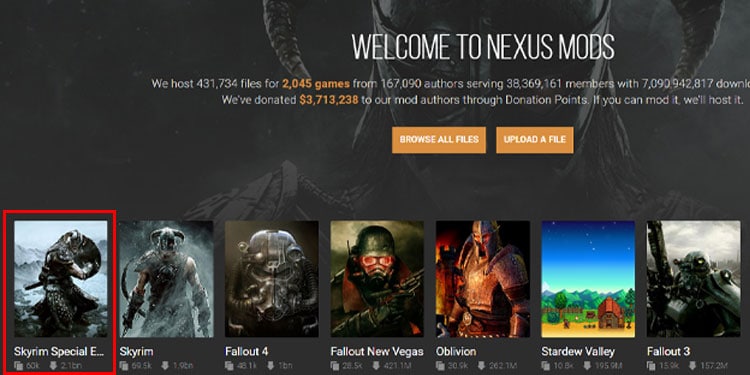
- Open Nexus mods on your browser and click on Skyrim Special Edition.
- Open the mod you wish to install.
- Switch to the Files tab.
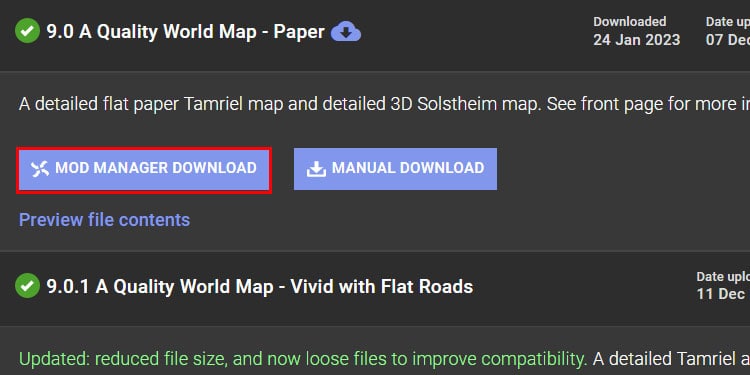
- Click on Mod Manager Download.
- If you’re a premium user the file will download automatically. The free users must stick with the Slow Download option.
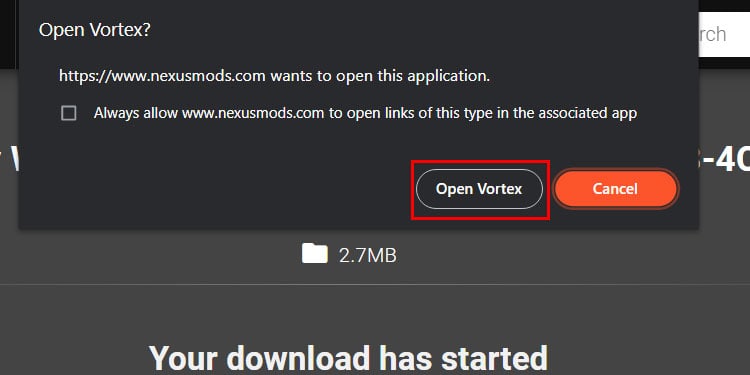
- Click on Open with Vortex on the given prompt.
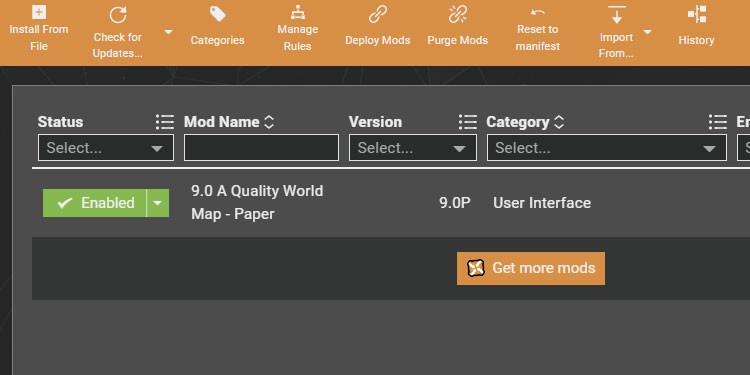
- Vortex will automatically install and deploy the mod after downloading.
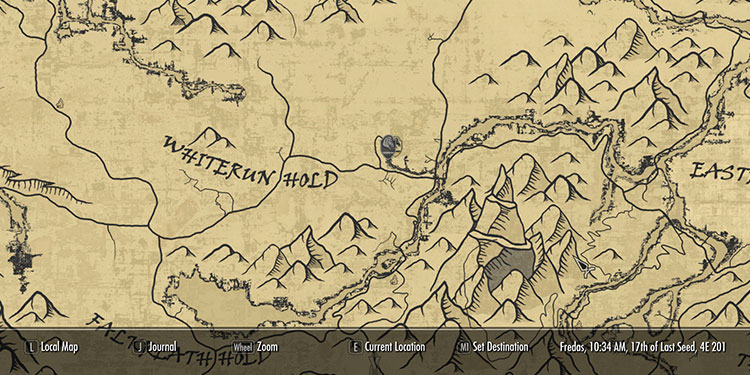
- Launch Skyrim and test the mod that you’ve installed.
If you’ve already downloaded the mod file on your computer, you can simply install it from the Vortex,
- Launch Vortex.
- Switch to the Mods tab.
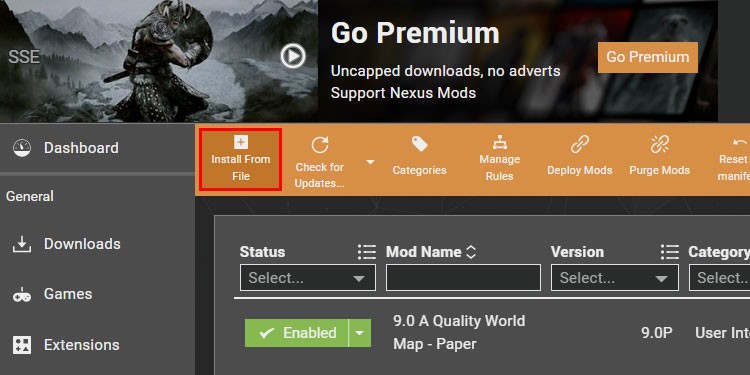
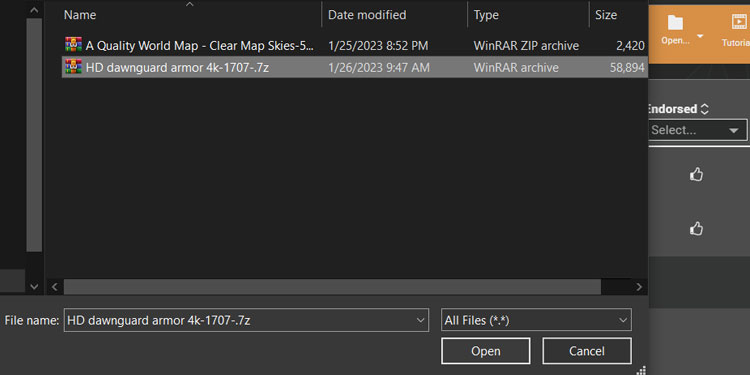
- Click on Install from file.
- Navigate to the mod location and double-click on it. You can also drag and drop the mod file on the Vortex window.
- Vortex will automatically install and deploy the mod on your game.
How to Mod Skyrim on Console?
Although you can mod Skyrim on consoles (Xbox, Playstation, and Nintendo Switch), you won’t get the same amount and variety of mods as in the PC version. You have to stick with the mods that are available on Bethesda.net.
Additionally, there aren’t any mod managers to organize mods for consoles. You can instead directly download and install mods via the in-game option. Start by signing up at Bethesda.net.
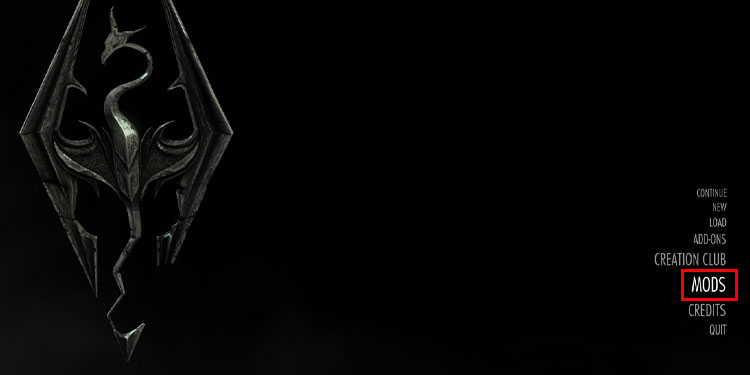
- Launch Skyrim on your console.
- Select Mods.
- Login with your Bethesda account.
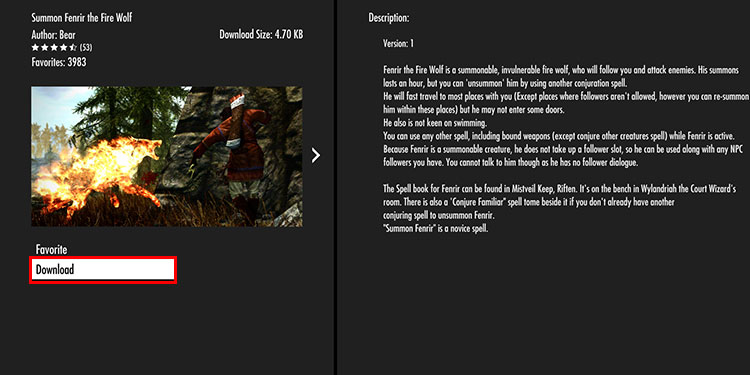
- Open a mod you want to install and hit Download.
- Head back to the title screen and load your save file.
How to Install Mods Without Mod Manager?
If you don’t want to rely on third-party mod managers, you can install mods by copying mod files into the game directory. However, you should only use this method if you wish to apply a few small changes or fixes. We highly recommend installing mod managers and/or a load sorting tool if you want to install large overhaul mods.
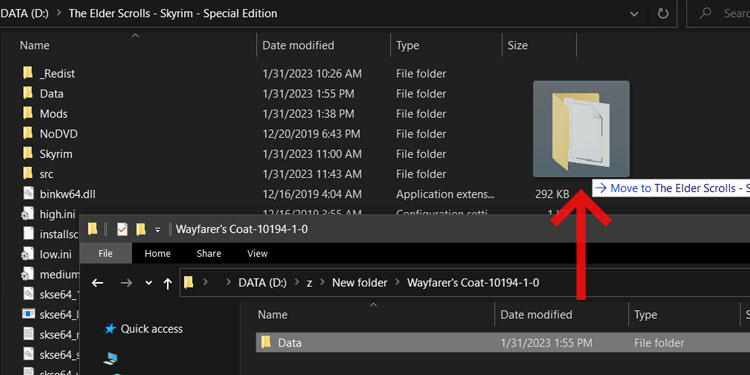
- Download and extract the mod. If the mod contains readme text files, refer to the given instruction.
- Copy the content of the mod file and paste it inside the Data folder in your game directory.
Note: There are many overhaul and texture mods that rely on correct load orders to work properly. Simply copying and pasting mods may result in game corruption or crashes. 