Getting a good understanding of the keys and button customization in Dota 2 is one of the many ways to get better at the game.
The game offers the option to bind most of the keyboard keys and mouse buttons. However, there are also some keys whose primary function are set by default and cannot be changed.
These keys (except for the Alt key) have no sole function and does nothing when they’re pressed. They are only useful when they’re used together with other keys.
Let’s discuss both of these in this article.
Table of Contents
Bindable Keyboard Keys
Bindable keyboard keys can be changed at any time, even during your match. These keys includes abilities, items, unit actions, shop actions, chat feature, interface, and control group.
Here is the list of default hotkeys for all the actions.
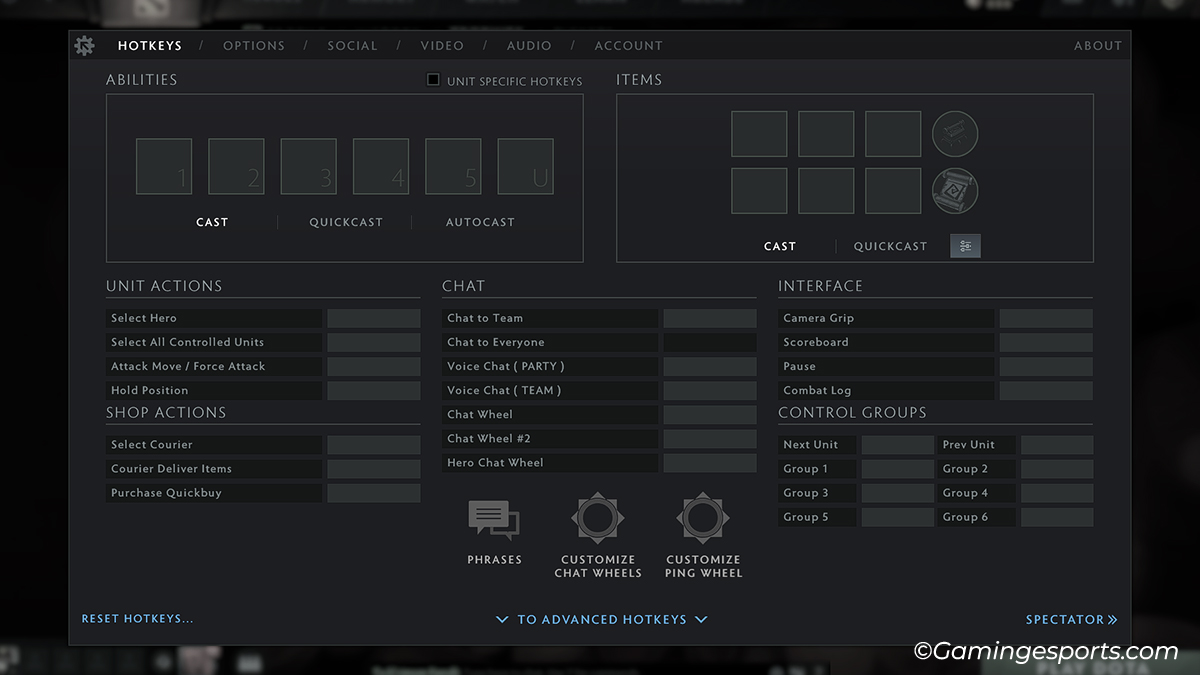
Note: You can also choose between the popular hotkey templates provided by default for easier hotkey assignment.
Abilities
There are four major ability slots and two minor ability slots. Although the ability hotkey configuration applies to all units, you also have the option to choose unit-specific hotkeys.
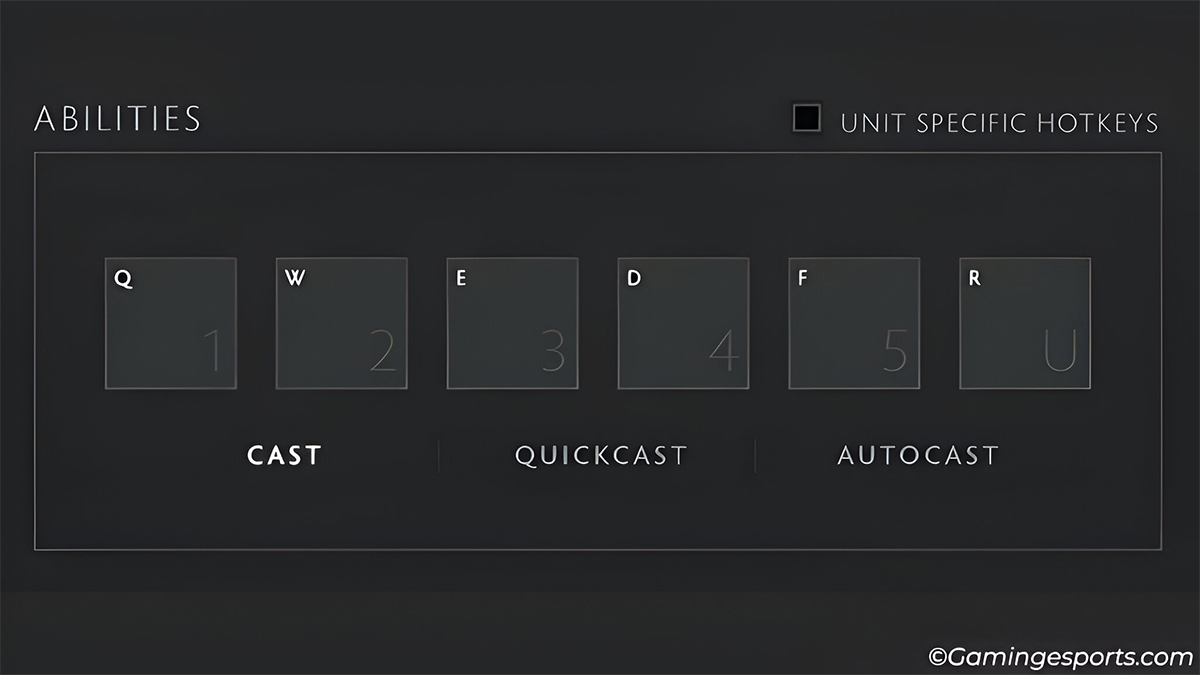
- Q – First skill of your hero
- W – Second skill of your hero
- E – Third skill of your hero
- R – Ultimate skill of your hero
- D – Fourth skill of your hero
- F – Shard skill of your hero
Items
You can have six different active items in your inventory, along with three different inactive items in the backpack, one active neutral item and a designated TP scroll key.
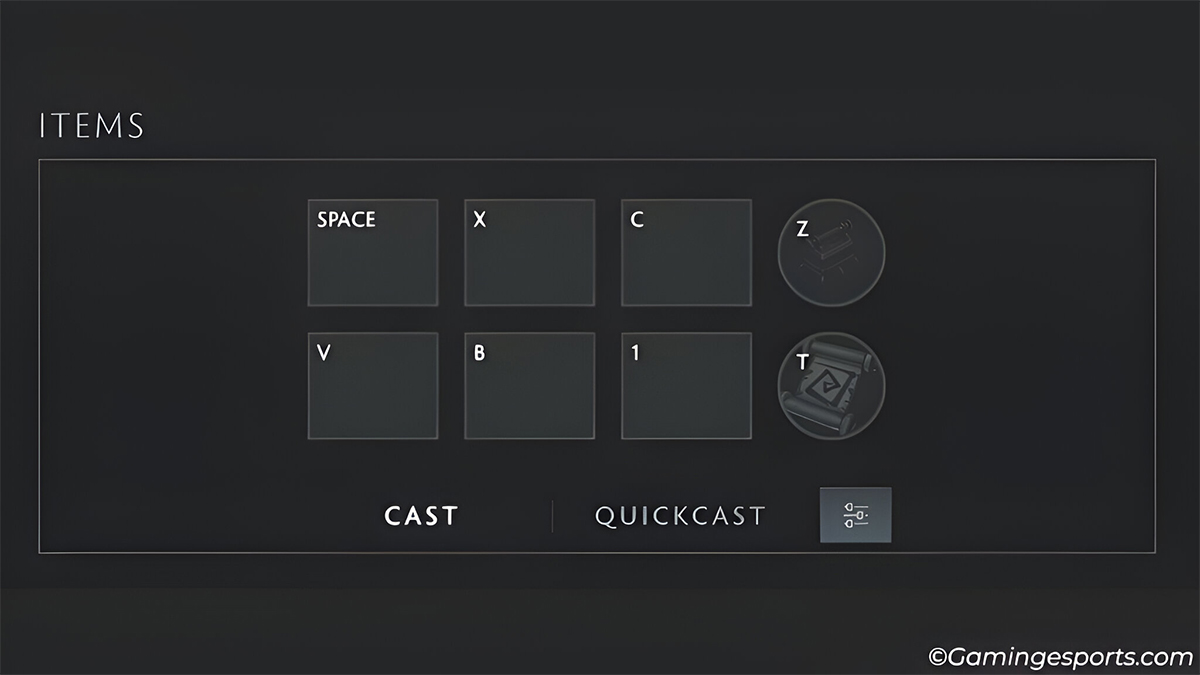
- SpaceBar – Top left slot item ( most used item )
- X – Top middle slot item
- C – Top right slot item
- V – Bottom left slot item
- B– Bottom middle slot item
- 1 – Bottom right slot item
- T – Teleport scroll item
- Z – Neutral item
Unit Actions
By default, there are basic and advanced unit action shortcut keys. Although these keys are customizable, I still recommend using the default keys for an easier Dota 2 experience.
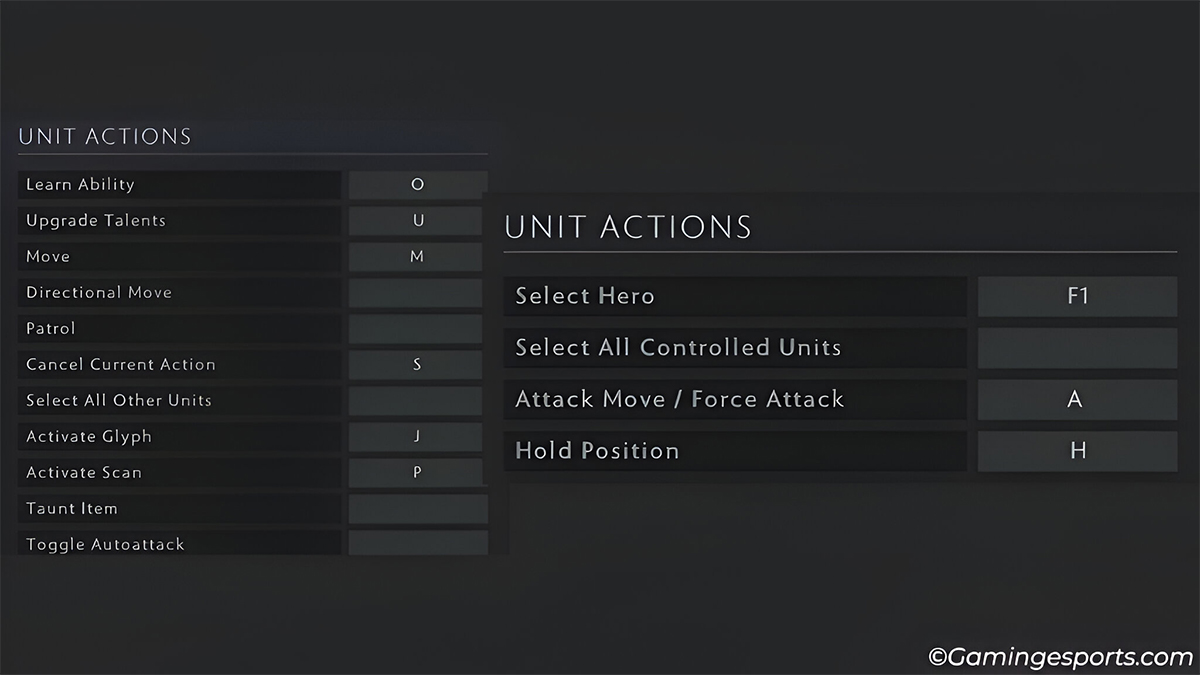
- F1 – Select your primary hero
- A – Force attack/ Attack move
- H – Hold position
- O – Learn hero ability
- U – Upgrade your hero talents
- M – Move your hero to follow an ally or enemy
- S – Cancel current action
- J – Activate Glyph
- P – Activate Scan
Shop
You can use the following key-binds for shop actions that includes courier order, quick–buy and browsing.
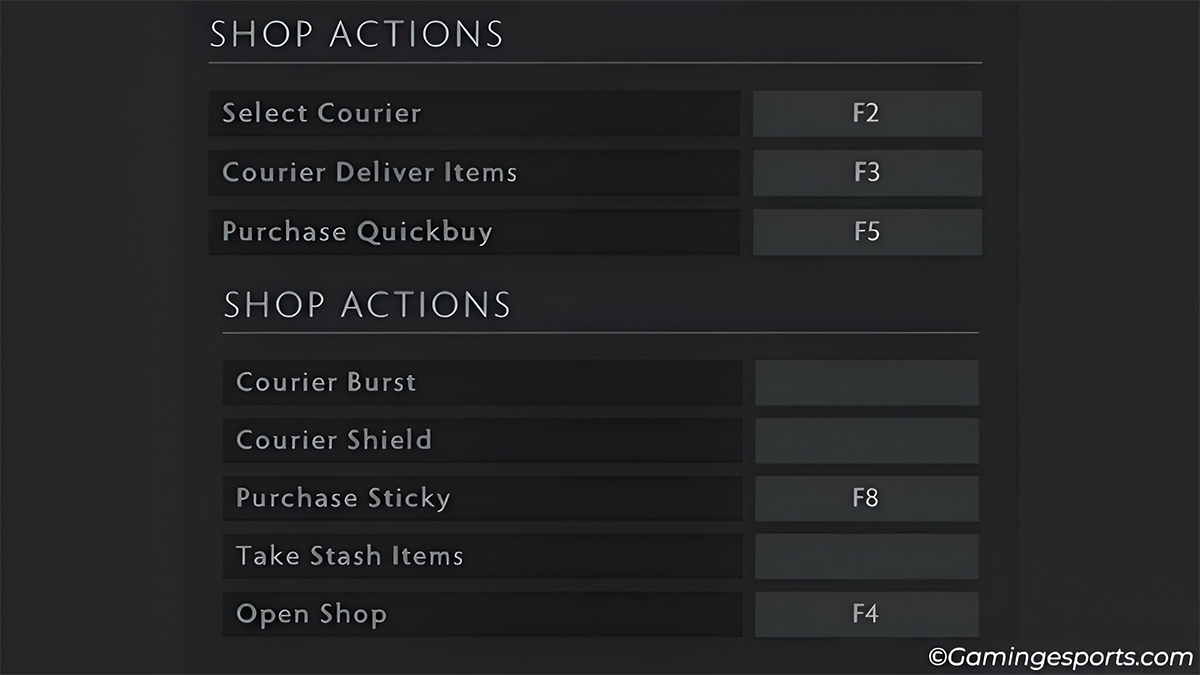
- F2 – Select your courier
- F3 – Command to transfer items from courier to your hero
- F4 – Open and Close the shop
- F5 – Purchases items in your quickbuy from the shop
Communication
Besides text chatting, you can also communicate with your team via voice chats, in-game phrases and commands, sprays, sounds, emojis, etc.
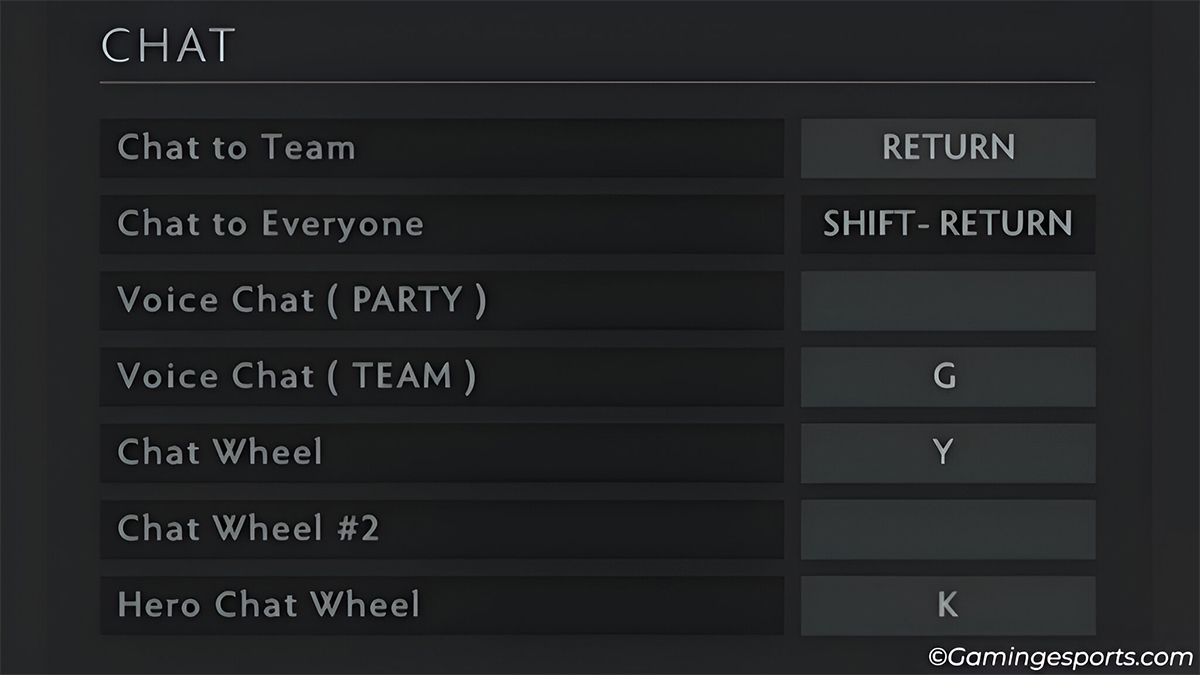
- Return/ Enter – Chat with your team by typing words or sentences.
- G – Communicate with teammates with your voice.
- Y – Open the chat wheel with options for common phrases used in the game. You can customize the chat wheel with phrases, spray, sound, and emojis.
- K – Hero chat wheel to use phrases that differs from hero to hero.
Interface
Your interface is as important as your in-game commands, as it allows you to perceive the information in the game. It is also used to communicate any new information to your allies.
Here’s the default key-bind to control the game’s interface menu.
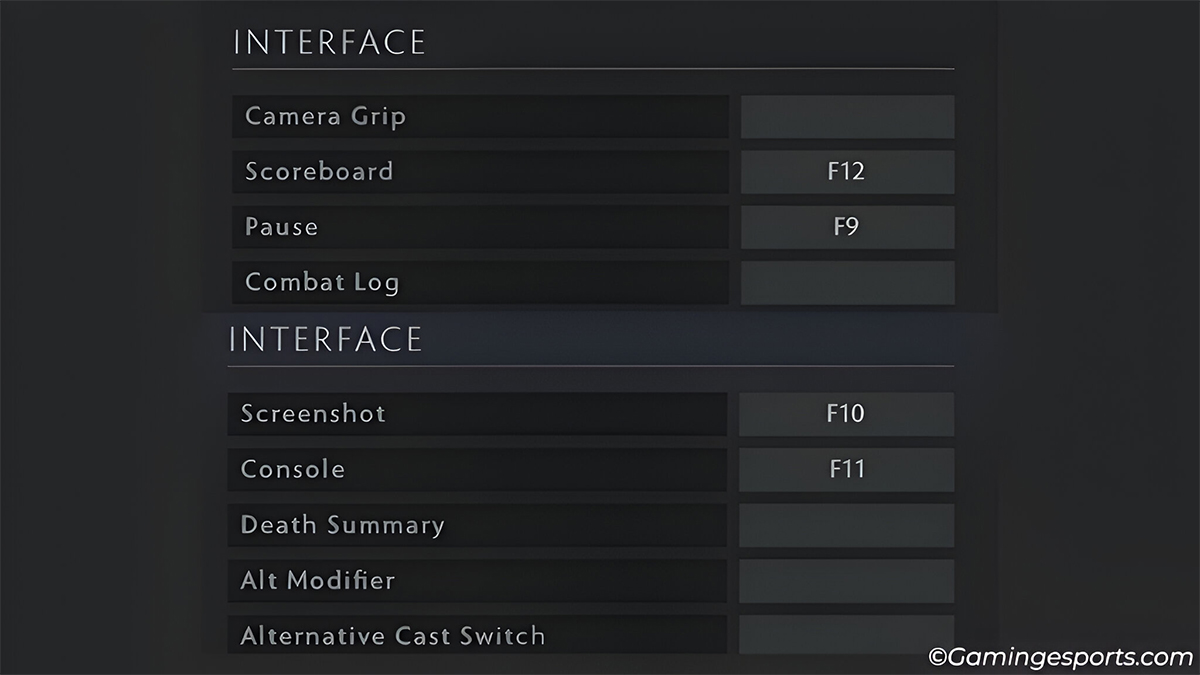
- F9 – Pause and Resume the game.
- F10 – Take a screenshot of the in-game.
- F11 – Open and close the in-game console.
- F12 – Open the in-game scoreboard.
Un-bindable Keyboard Keys
Shift, Ctrl and Alt are the major un-bindable keyboard keys in the game. However, they can be bound with other keys to serve different actions in the game.
Note: Technically, you can bind keys like Windows and PrintScreen on your keyboard. But the problem is that they don’t lose their primary function, so using them is not a good idea.
Shift
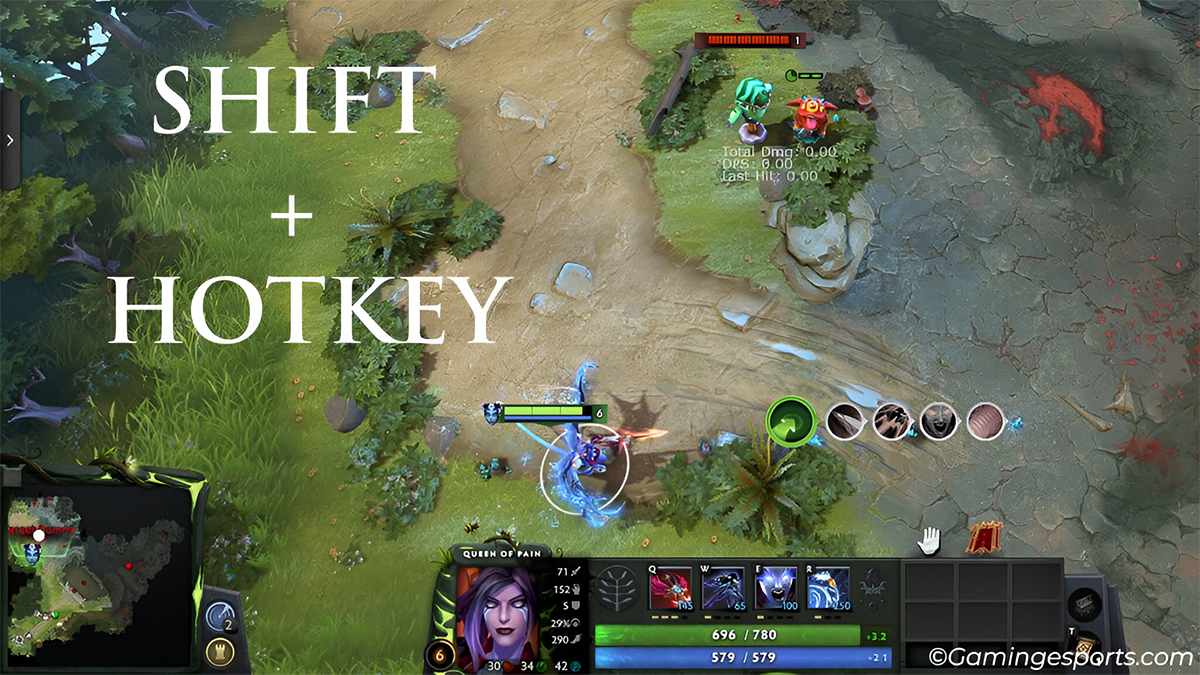
The Shift key is itself un-bindable with no sole function but can be bound with other keys and buttons for the following actions.
- Shift + Enter – To communicate with enemies through text.
- Shift + Right Click – Queue command to move to multiple points in the map. It is also used to remove a unit from multiple selected units.
- Shift + Left Click – Queue command to fight and defeat multiple enemies one by one. It is also used to add a unit to your selected units.
- Shift + Hotkey – Used to queue multiple spells or items on an enemy.
Note: Hotkeys are basically your hero’s item and spell keybinds.
Ctrl
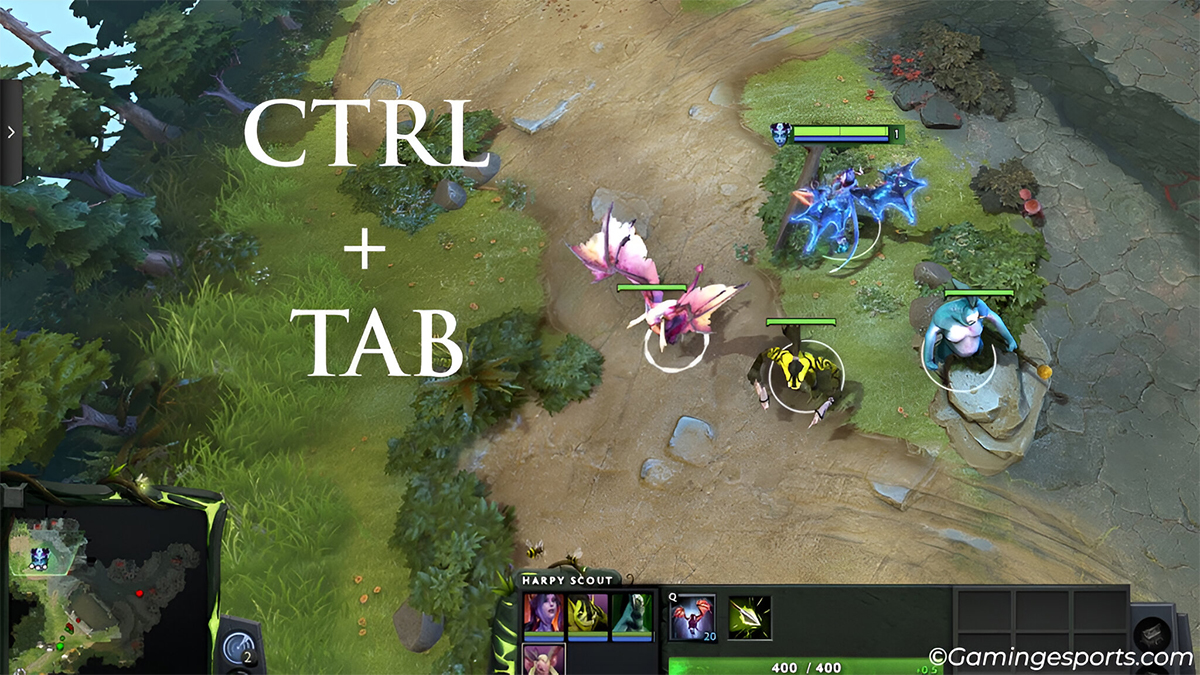
Similar to the Shift key, Ctrl in itself is un-bindable with no sole function but can be combined with other keys.
- Ctrl + Group Hotkey – To select multiple units and bind them to a group.
- Ctrl + Tab – Cycle through different units in the group.
- Ctrl + Camera Position Key – To bind a position on the map for a quick look.
Alt
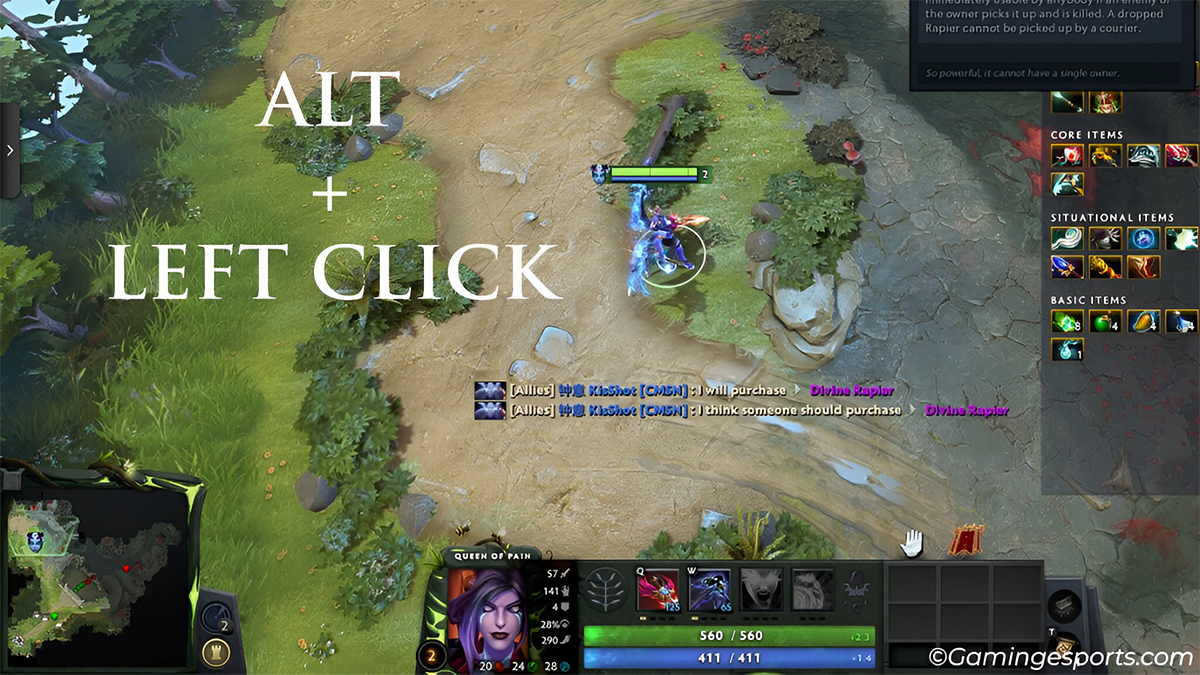
Primarily, the Alt key is used to highlight your allies and enemies on the map, but it can also be bound with other keys and buttons for action such as:
- Alt + Left Click – Ping on the map or your HUD interface to alert allies on enemy and objectives.
- Alt + Ctrl + Left Click – Perform alternate pings or provide extra alerts from the HUD interface.
Mouse Binds
A normal mouse with the basic buttons works totally fine in Dota 2. But if you own a gaming mouse, you can also utilize its bindable buttons for additional purposes.
Un-bindable Buttons
A mouse consists of three primary buttons. i.e., left-click button, right-click button, and scroll wheel. These button already have their default functions and are un-bindable.
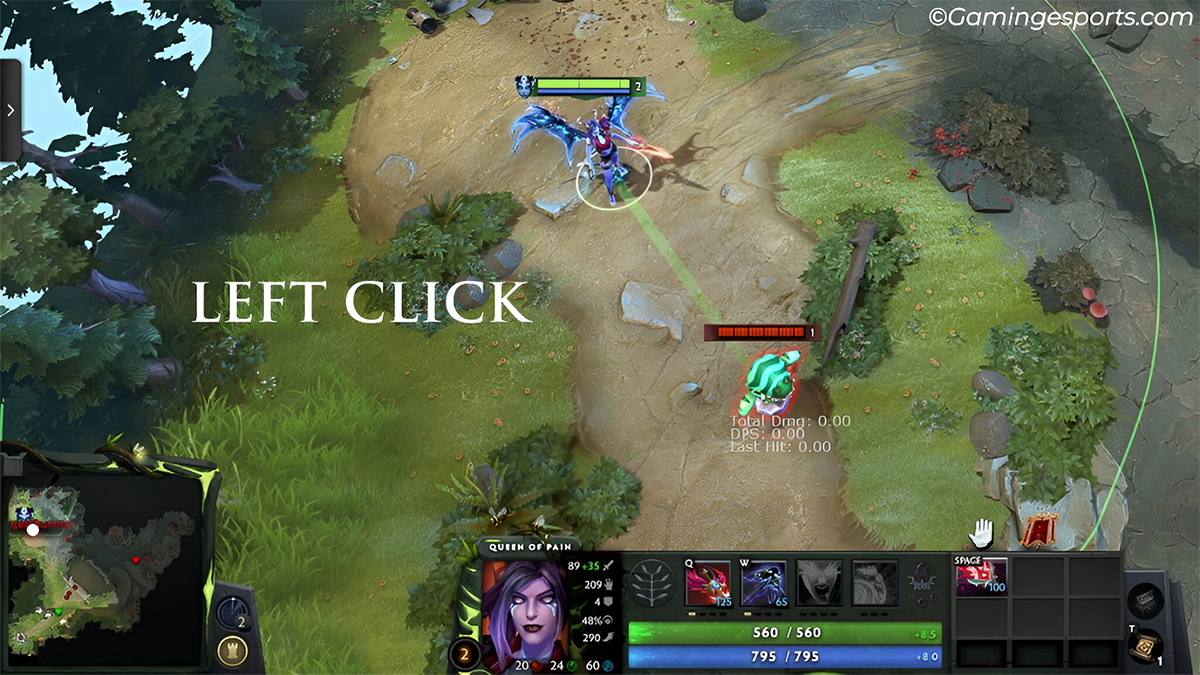
- Right Click – To move, attack, and follow your ally or an enemy.
- Left Click – To select or target spells and items on your ally or an enemy.
- Scroll – Used to navigate the shop, guides, and interface.
Bindable Buttons
Bindable mouse buttons are found in a gaming mouse and are completely optional. Using these buttons comes down to your personal preference.
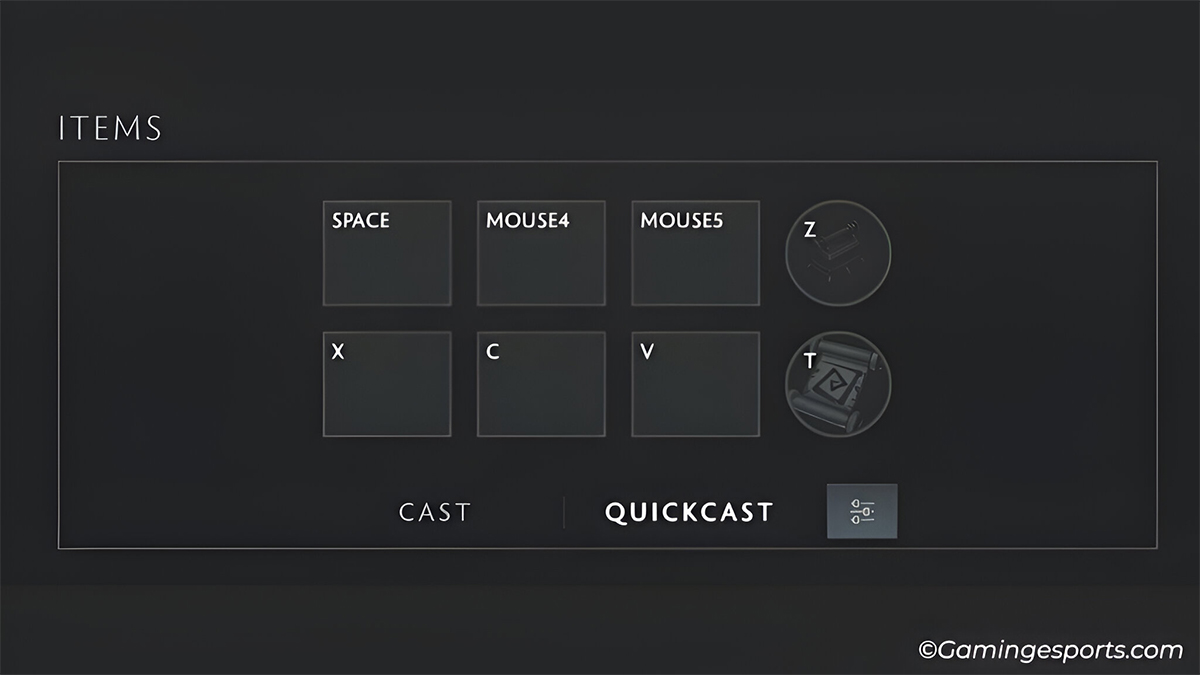
I recommend using two or three bindable mouse buttons to bind actions that require double-clicking to avoid any accidental presses.
- Button 1 – Any item or ability that can be used on yourself.
- Button 2 – Hotkey to select your controlled summons group.
- Button 3 – Most important phrase or command for quick communication.
